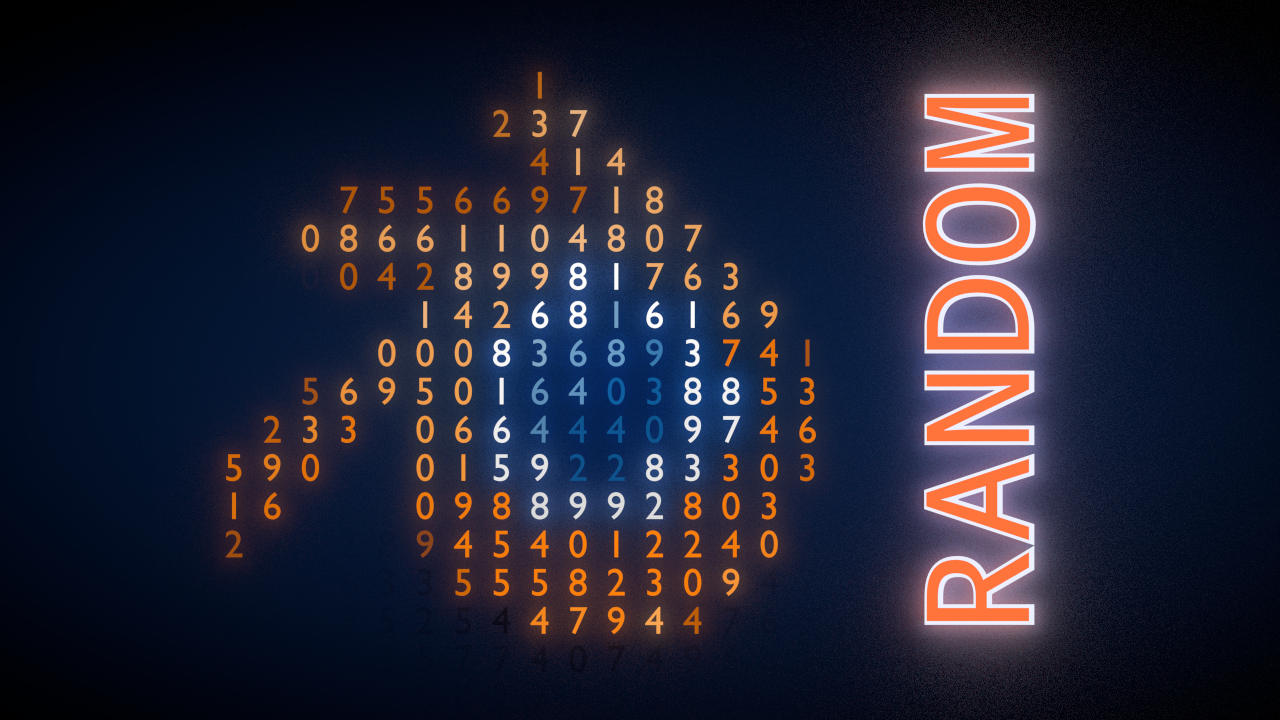
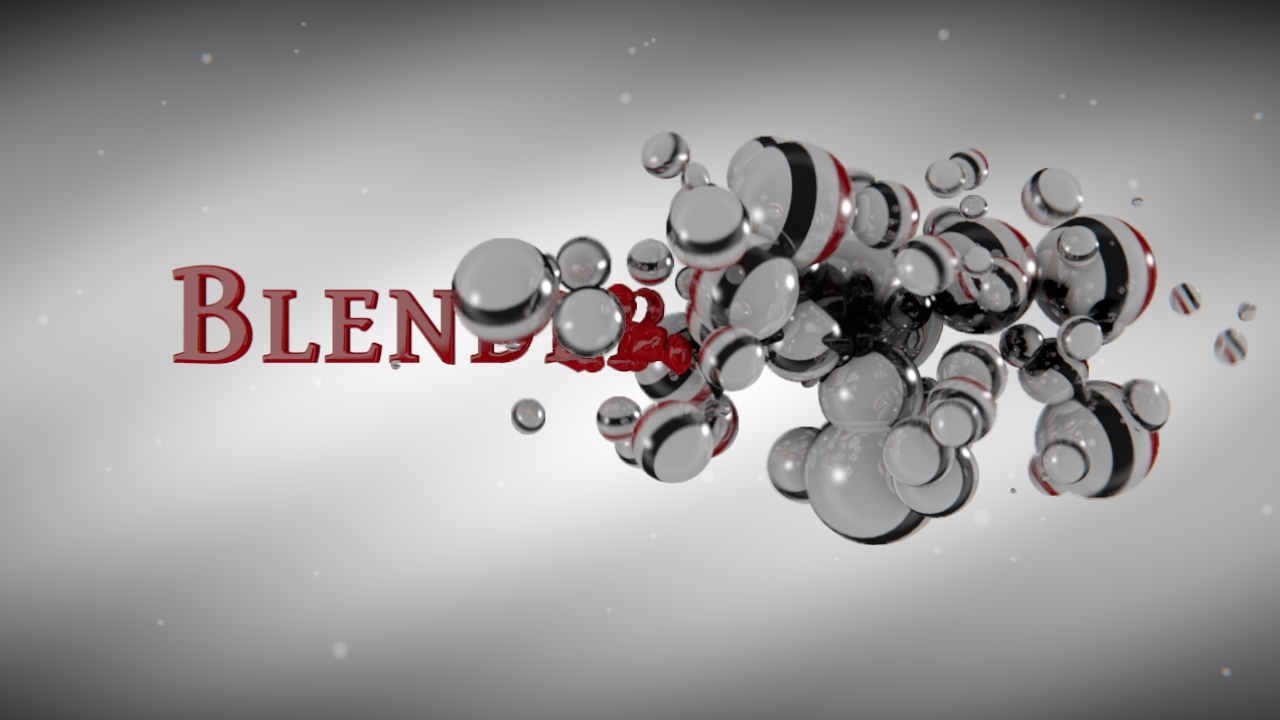
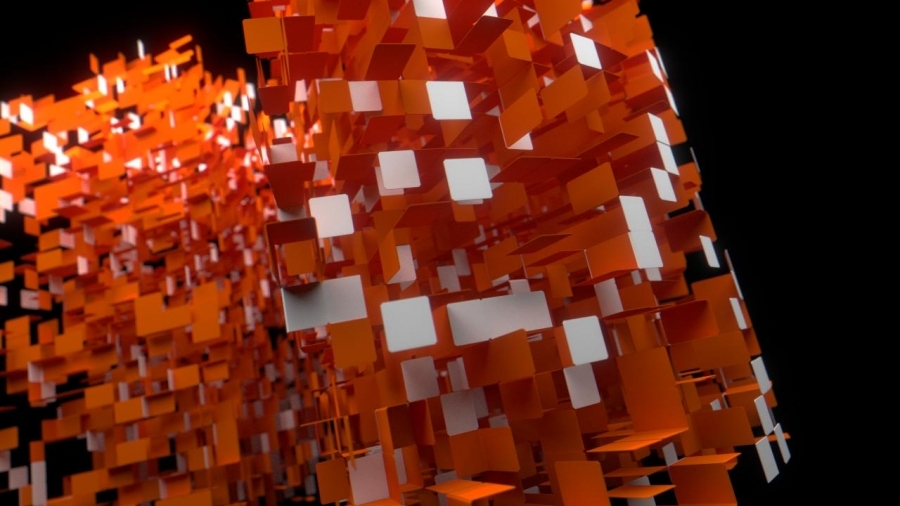
Computers cannot generate truly random numbers. Why that is, and why it actually is an advantage for animators is demonstrated in this video tutorial by Frederik Steinmetz. Discover what a seed value is and when and how to use it.
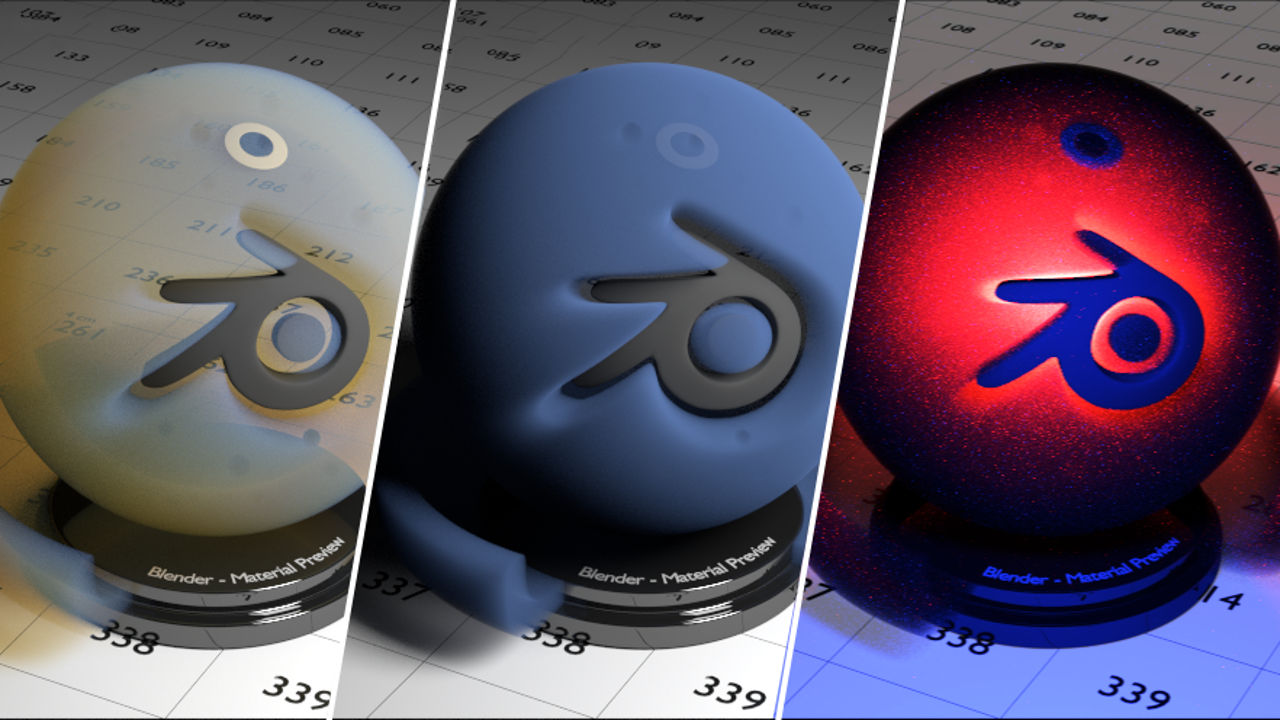
Blender 2.7x got a great new feature - volumetrics in Cycles! Learn the basics of the volume scatter effect in this tutorial.
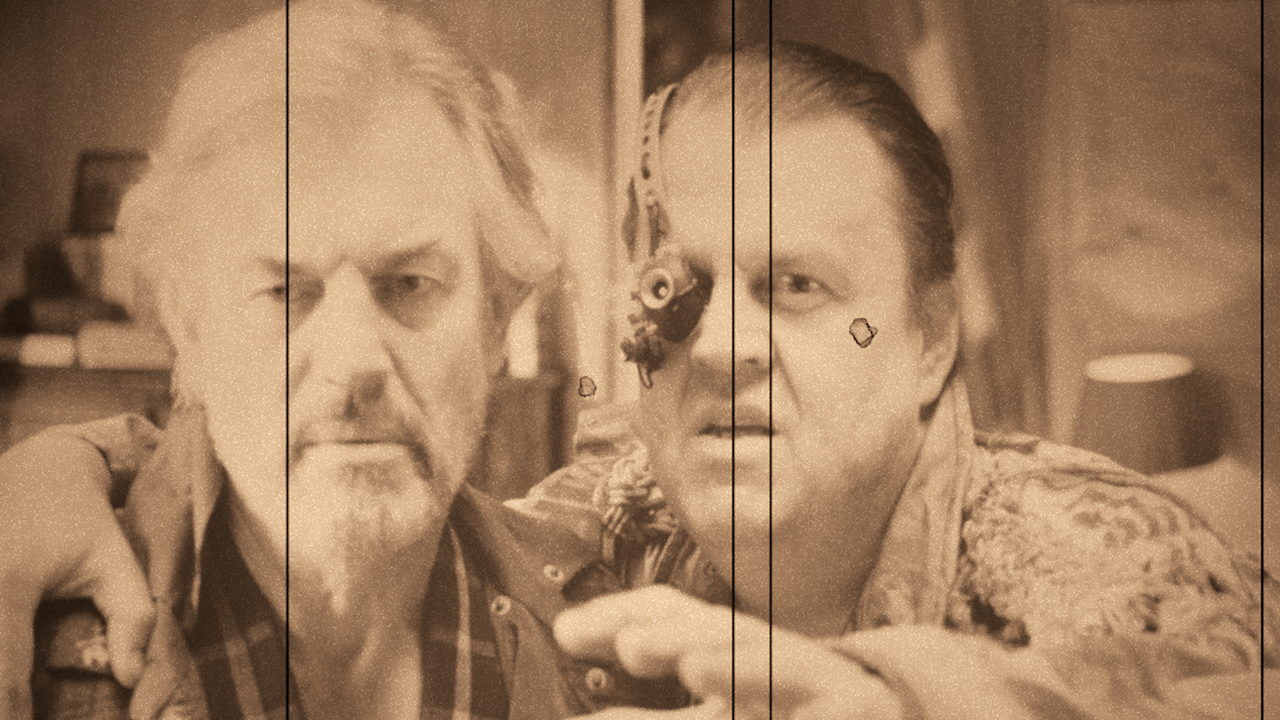
You can use Blender to make footage look like it was shot in 1920, by using particle systems and the compositor. Here is how:
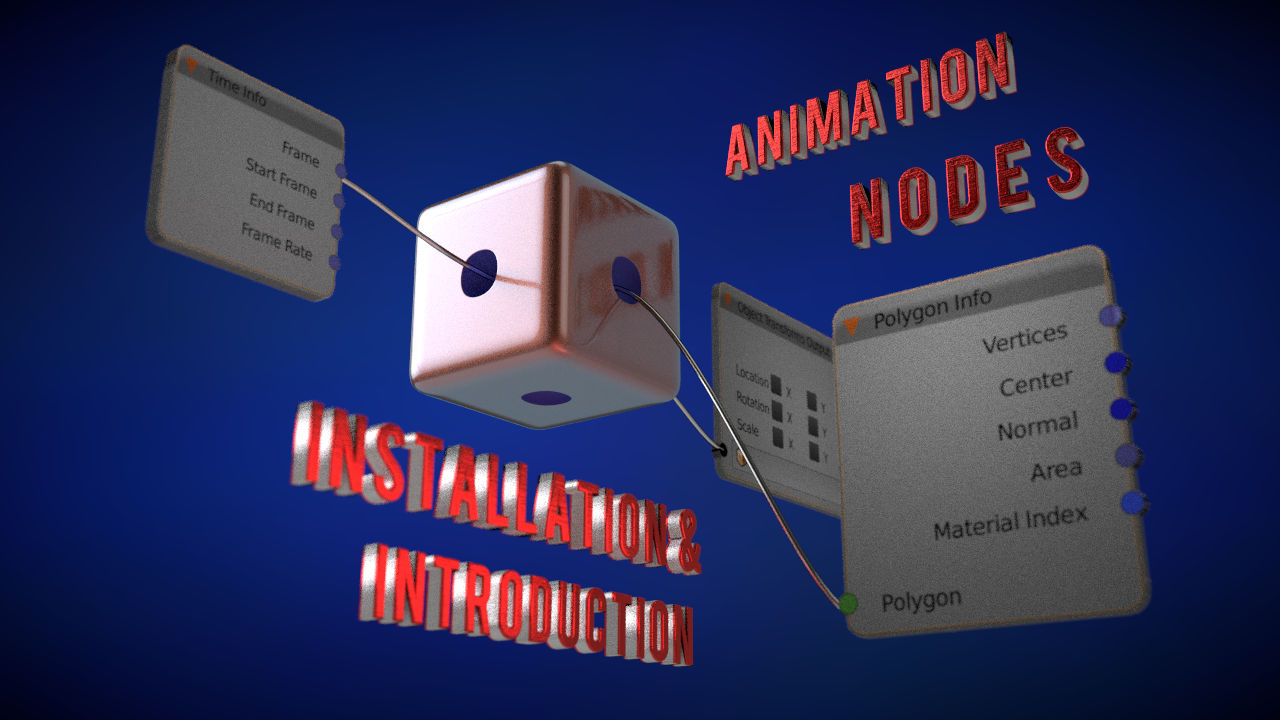
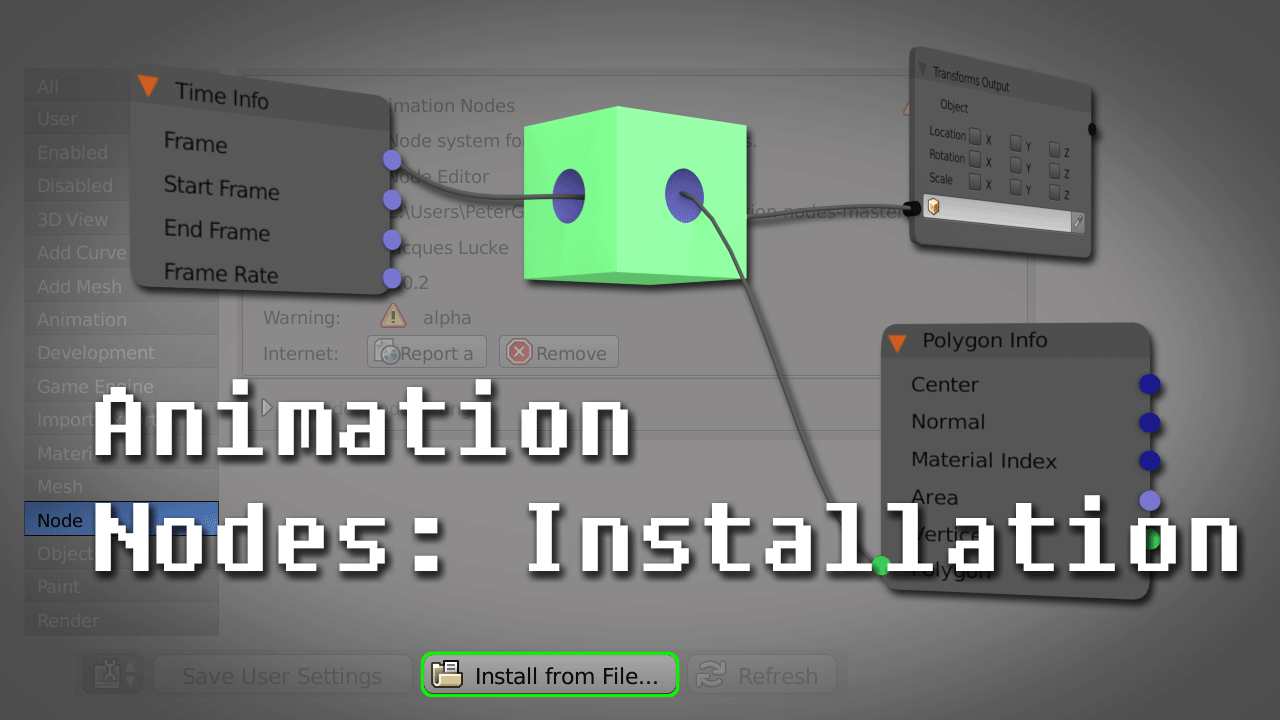
A lot has changed since we first published the introduction to the animation nodes. So once again Frederik Steinmetz will explain the installation and basic usage of Jacques Lucke's Animation Nodes Addon for Blender. A tutorial for version 2.8 of Blender can be found here!
The Laplacian Deform Modifier in Blender is super-useful for simple posing of objects, but the usage can be somewhat obscure. That's why Frederik Steinmetz is helping you out!
Recently I had to clean up a lot of my blendfiles. Especially when you append objects that share textures with your existing objects, you wind up with a lot of duplicates.
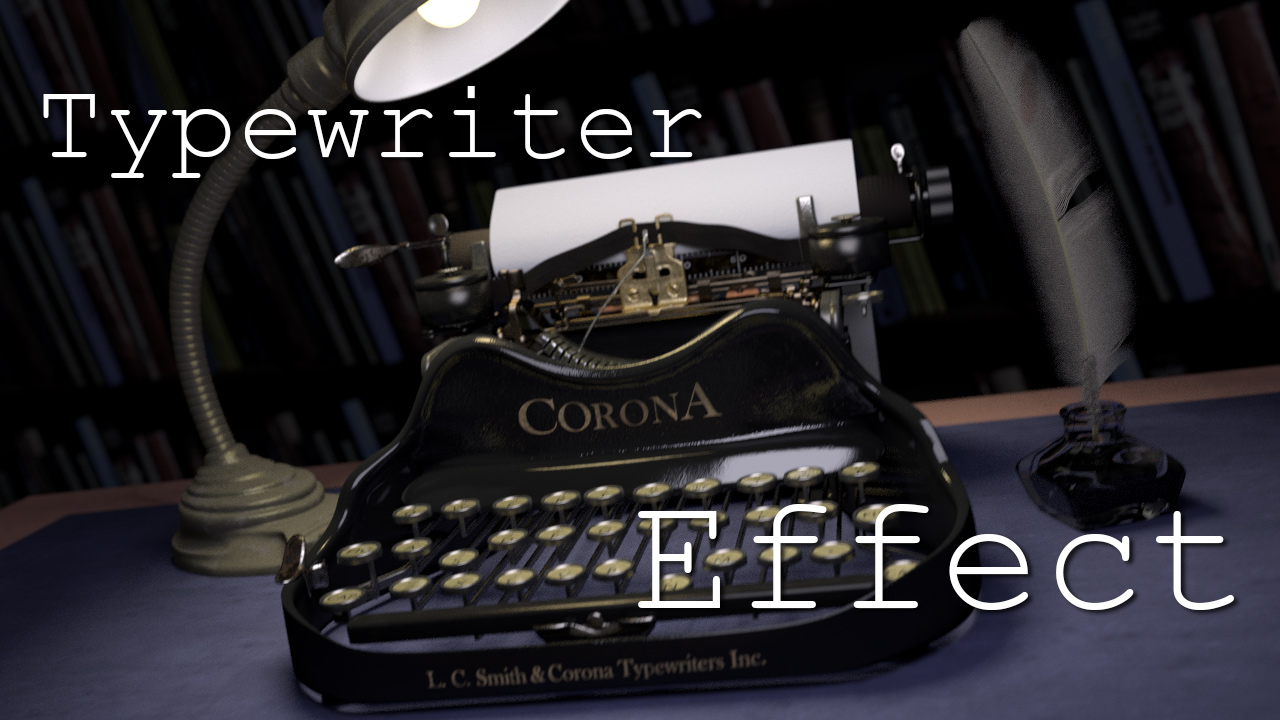
Using the Animation Nodes addon, a typewriter effect in Blender has become a matter of minutes. Frederik Steinmetz shows you how to do it.
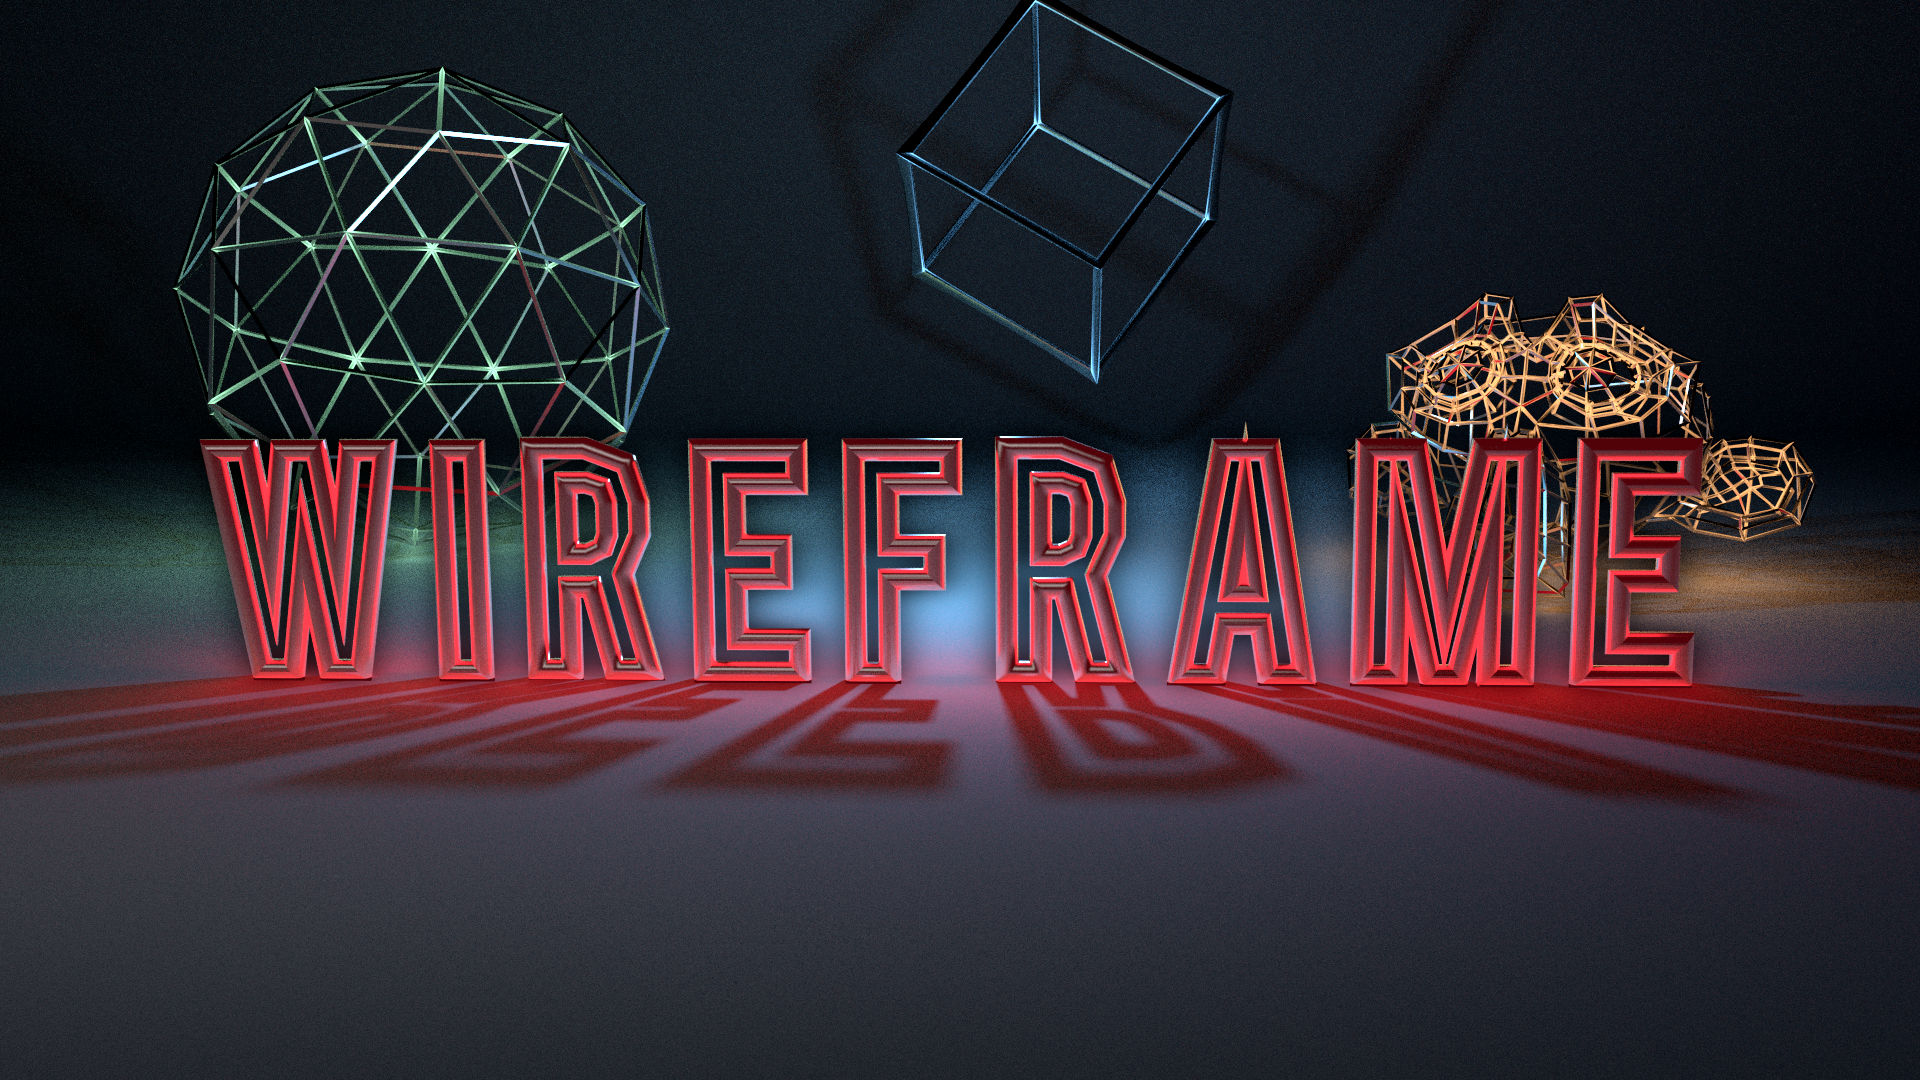
One of the cool new things in Blender 2.70 is the wireframe modifier. Frederik Steinmetz shows you how to use it and explains all options.
Animation Nodes is one of the hottest addons available for Blender 2.8x right now. Learn where to get it from, how to install it and how to create a most basic node setup.
b°wide has provided the community with a great pack of predefined node groups you can use in many situations. They are a must-have for any more sophisticated project. You can get them here. To enable the setup, you first have to select all the channels and then connect all in- and outputs. That can be very tedious, here is a one-click-solution.
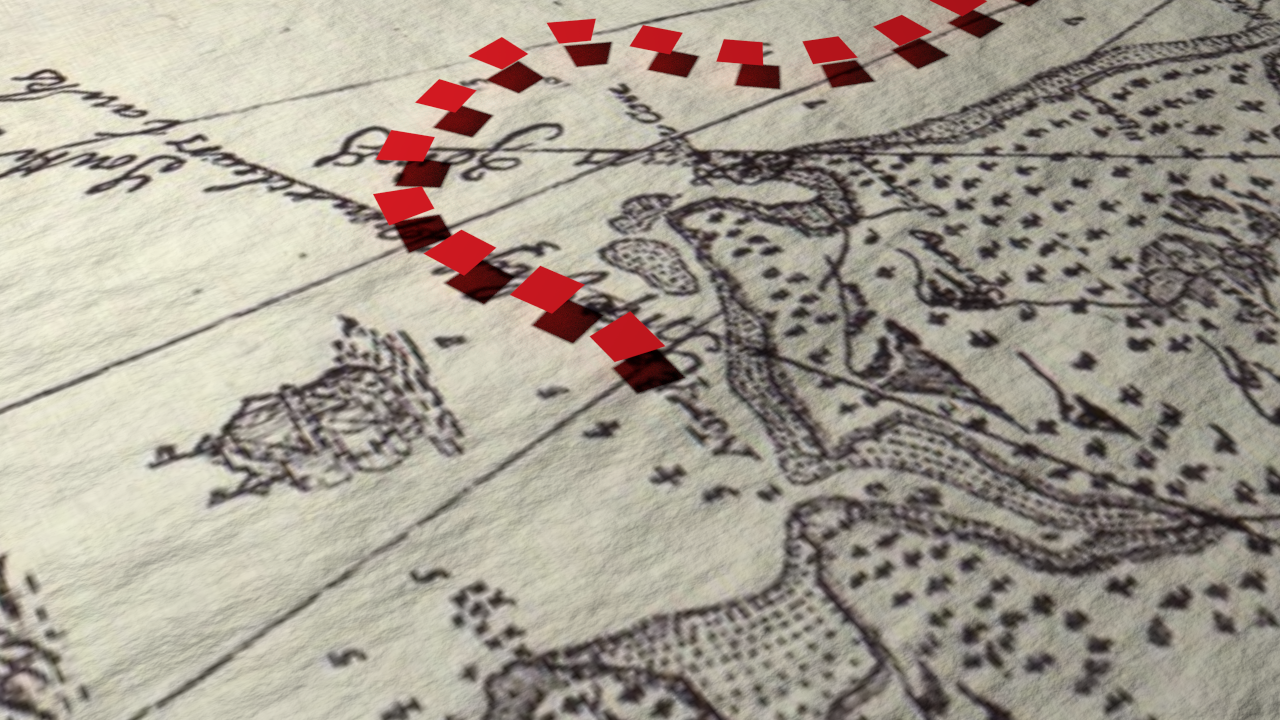
David Mcsween shows how to achieve a classic map travel effect using a path object in Blender and letting a camera follow the path. This is a real world production example.
In this tutorial you will learn how use the ARewO Addon and Metaballs to create a double-strand of a DNA molecule.
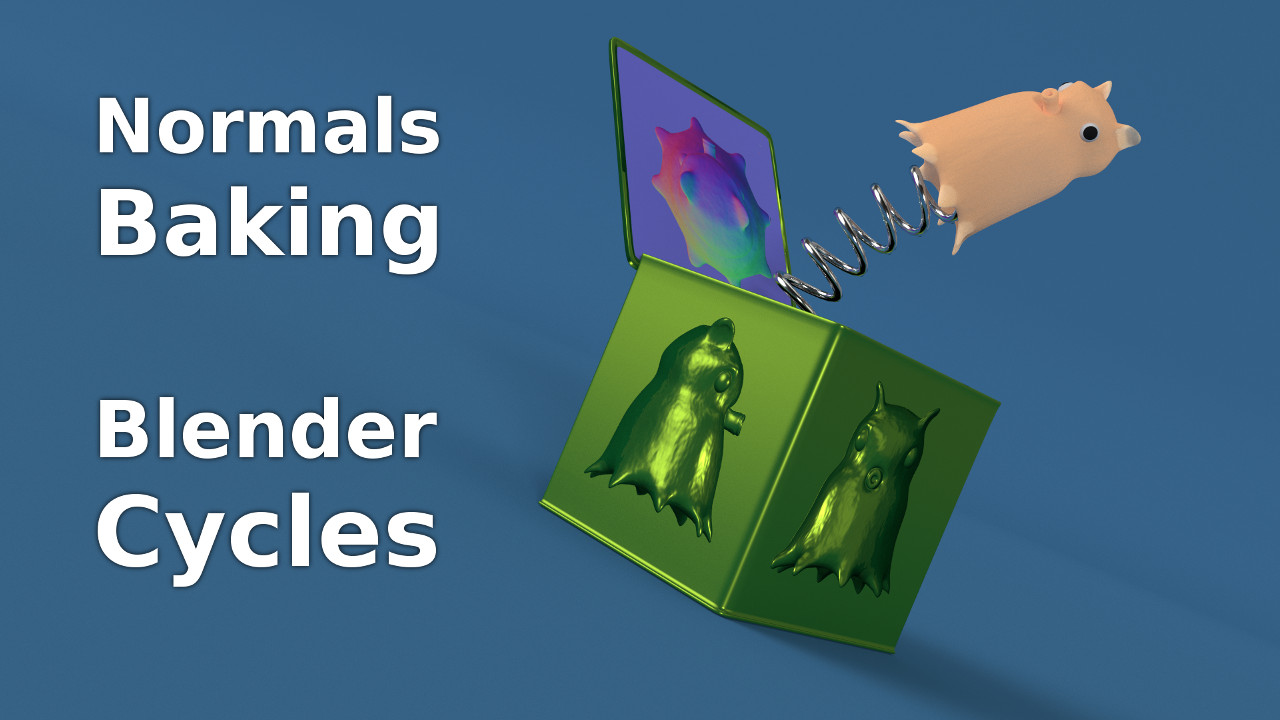
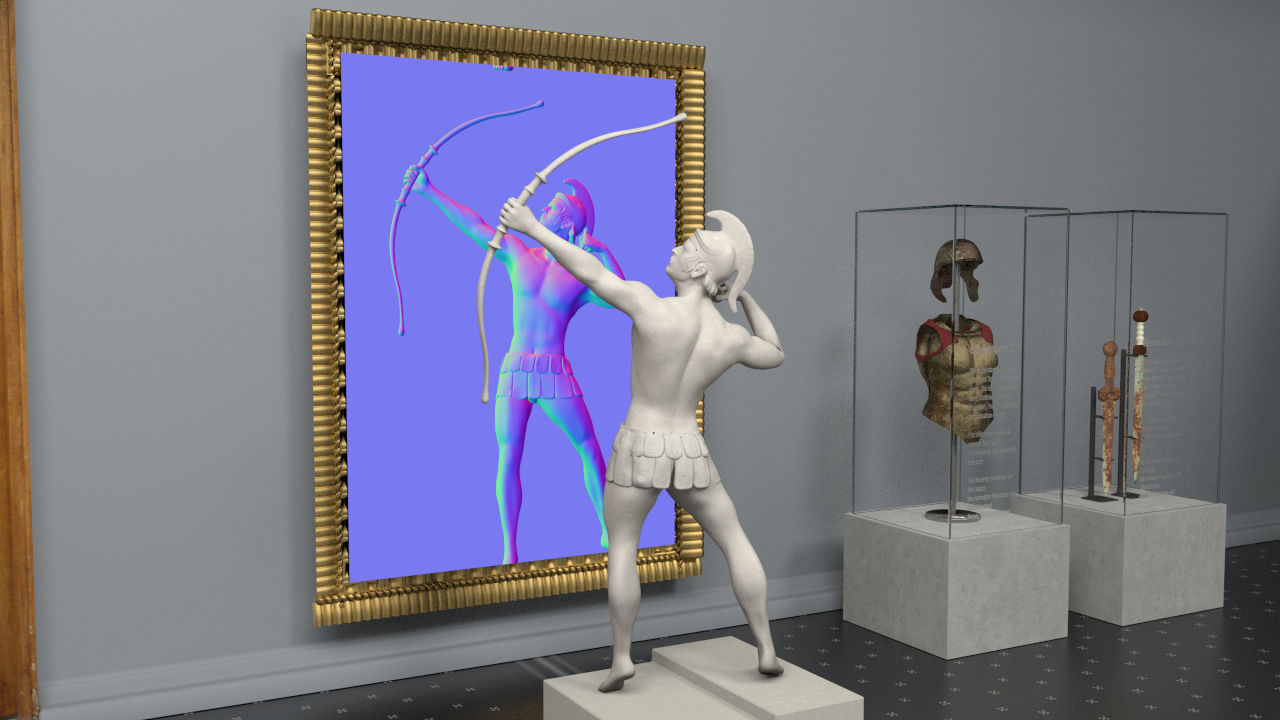
This article is about baking normals with the Cycles Render Engine. But it also contains excerpts from our book The Cycles Encyclopedia. This is where you can get extensive information about how normals work internally and what they are used for.
In this tutorial Frederik Steinmetz demonstrates the functions of the Animation Replicator with Offset. This video gives you a detailed explanation on what you can use this Addon for.
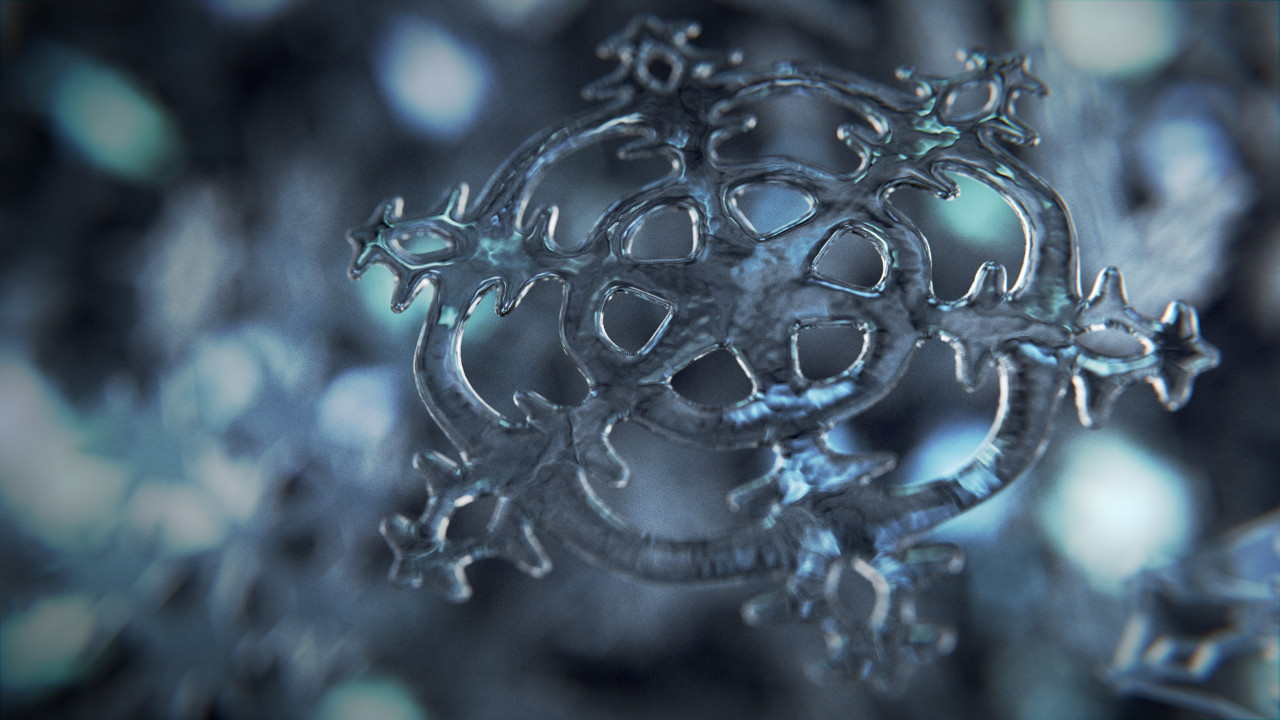
This second BlenderDiplom winter special will focus on a stylized snowflake inside a snowstorm rendered in Cycles. The first part is about easy snowflake modeling and is presented to you by Christoph Pöhler while in the second part Gottfried Hofmann will show you how to render it in Cycles.
Jonathan Lampel shows you how to create custom lens flares in Blender using only the compositor. The result can even be used as a group node.
By baking normal maps, you can add lots of details to models without increasing the polycount. Baked normal maps are used a lot in games, but are also useful for animations and still renderings. This tutorial shows you how to bake normals using the Blender Internal renderer.
A stencil for an animated background is a nice element for motion graphics. Unfortunately, the compositor is not always well-suited here. But Cycles comes for the rescue!
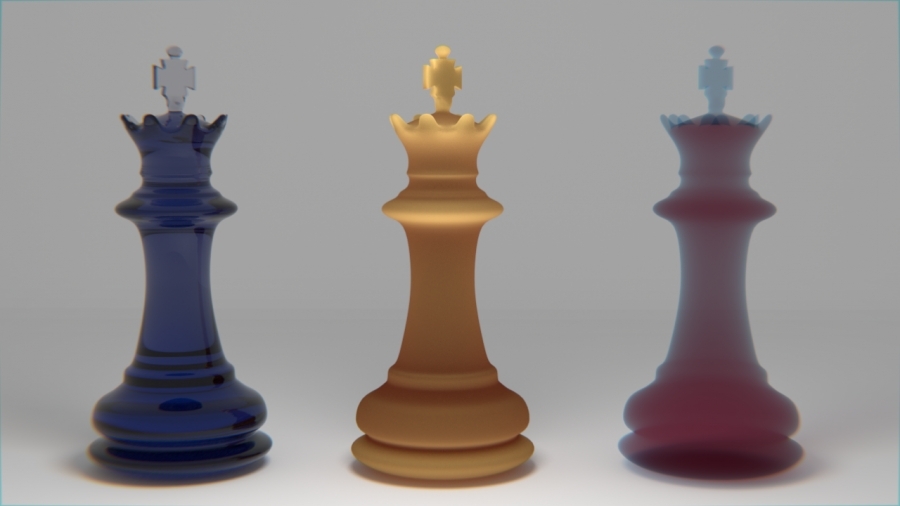
Volume scattering is used to create effects like smoke, dust, clouds, sun beams (a.k.a. god rays) and similar things. This tutorial will help you understand everything about volume scatter in Cycles and how to get the effects you expect from it.
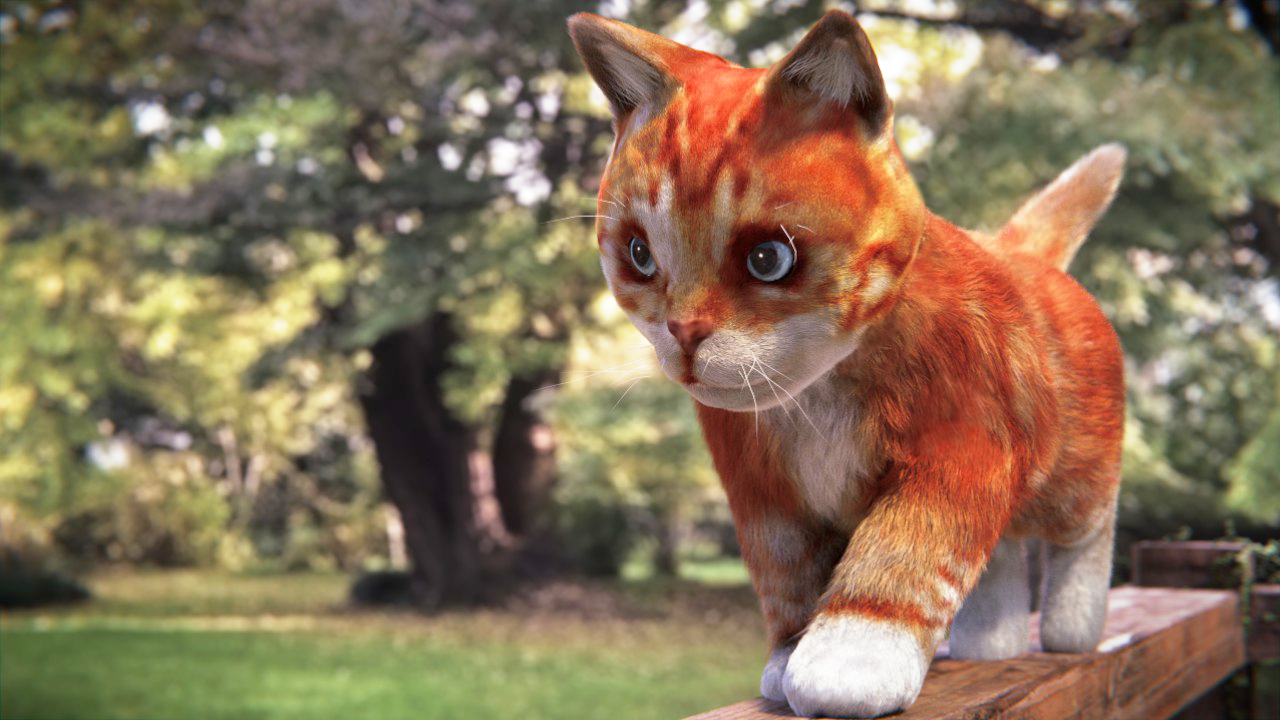
Learn how to add great looking particle fur for any animal!
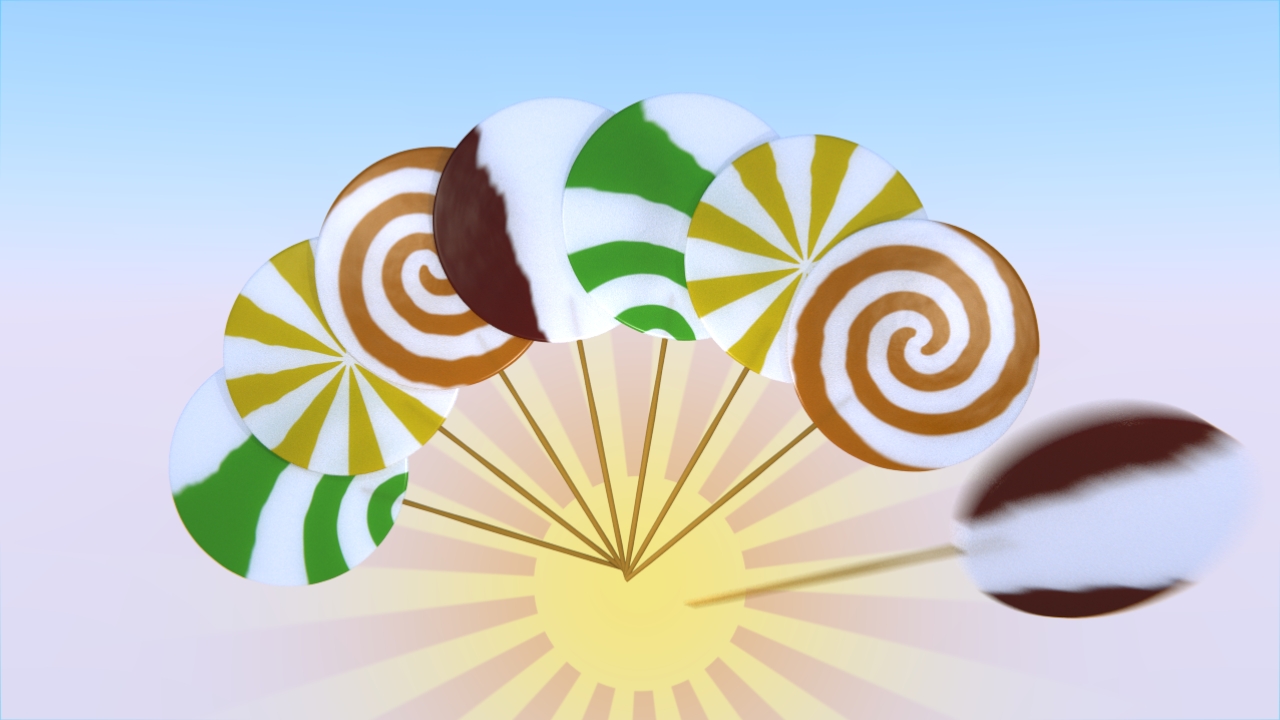
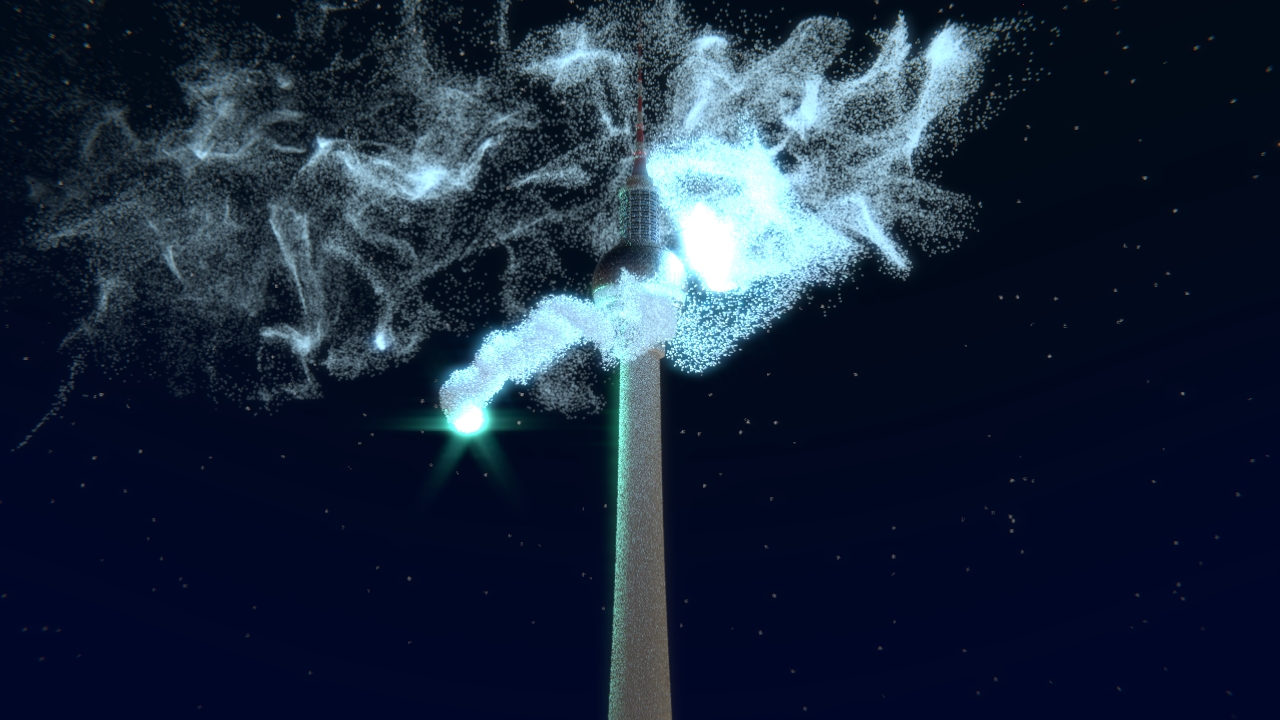
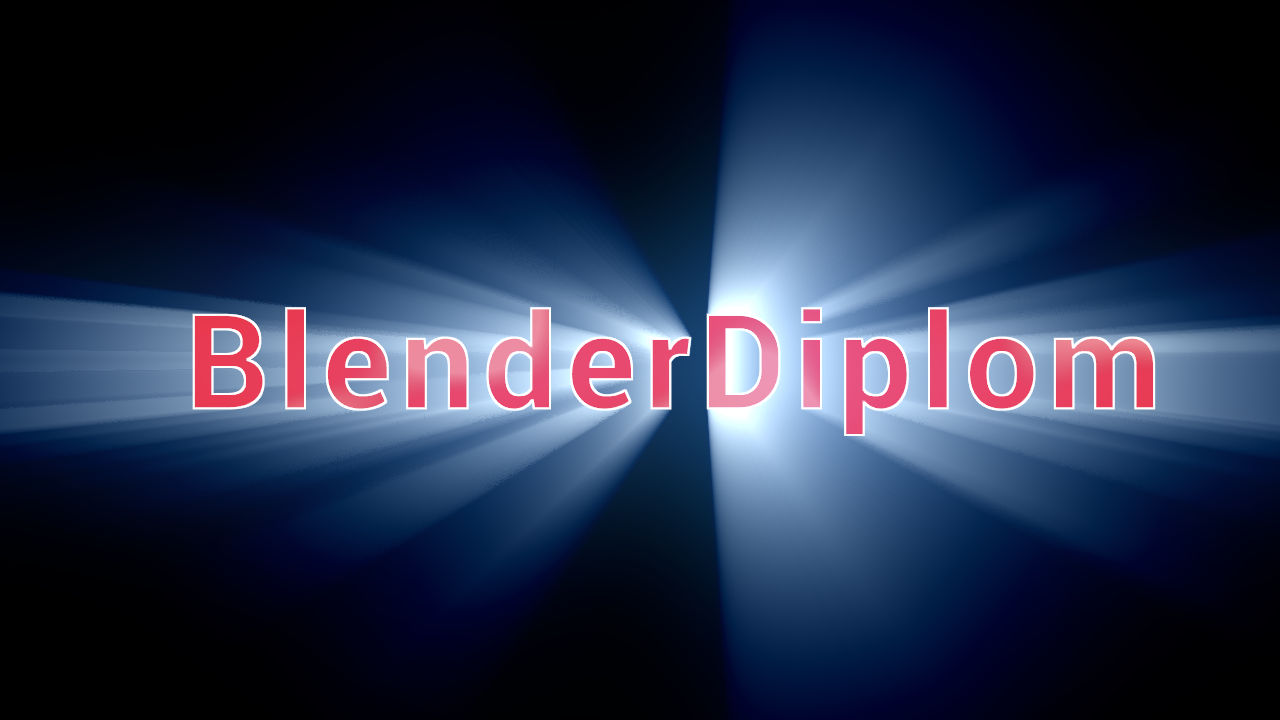
Blender 2.72 introduced the sun beams node in the compositor. It comes in really handy when creating light rays. Since it is a pure post-pro effect, it can even be applied to images.
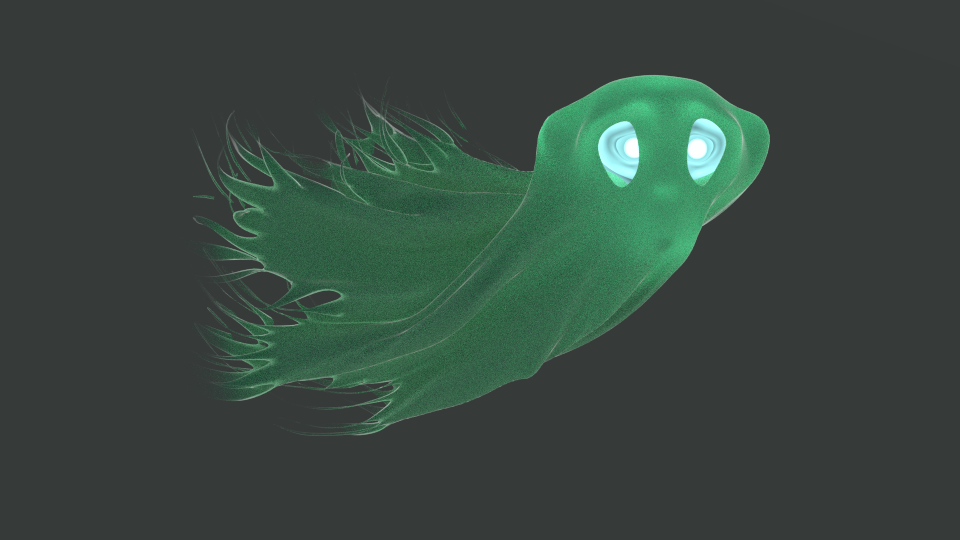
In this guest tutorial by Christoph Pöhler you will learn how to create a cute ghost animation using the cloth simulation and some advanced Cycles shaders.
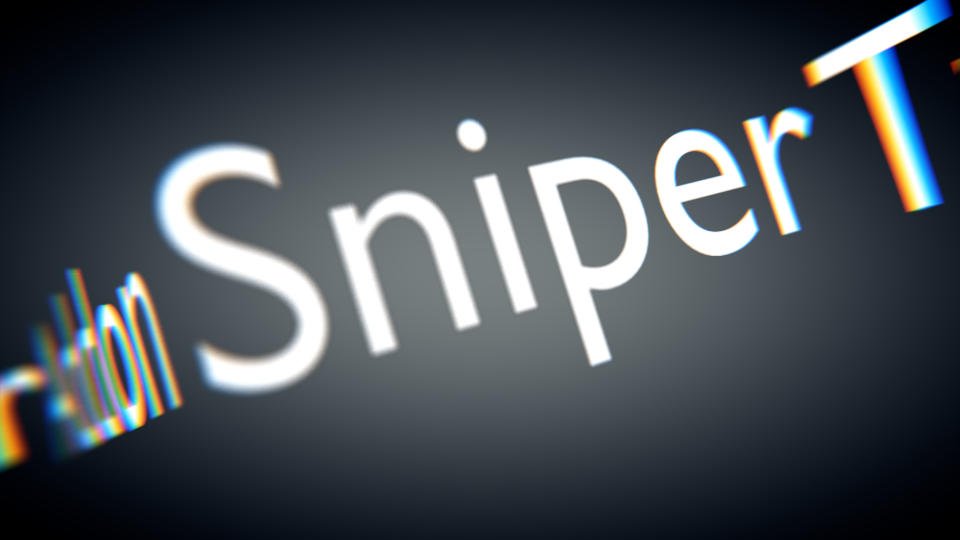
Want to create awesome motion graphics with little effort? Sniper is a cool new addon for Blender that helps automate kinetic typography and more. Control your camera by where it should point to.
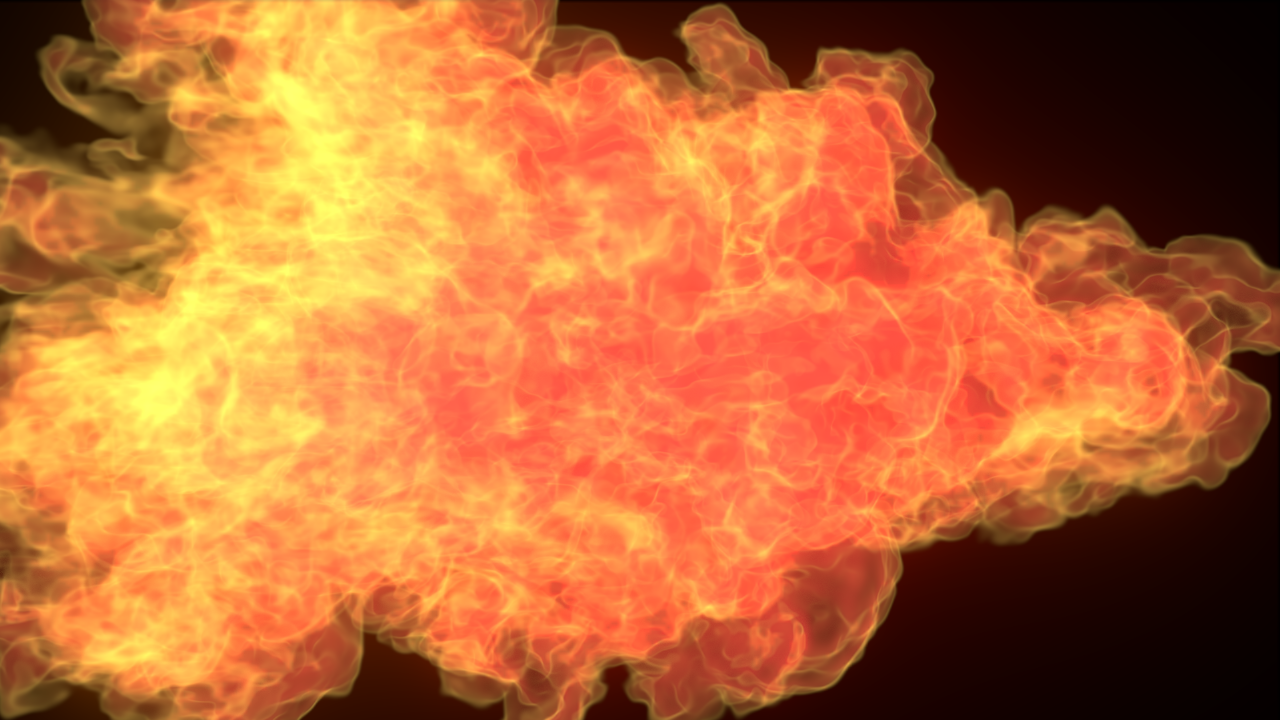
This tutorial explains how to create a really cool looking, stylized fire in slow motion directly in Blender. The result can be used for backgrounds of all kinds in motion graphics and stills. This tutorial will also show you a lot of tips and tricks how to render fire faster.
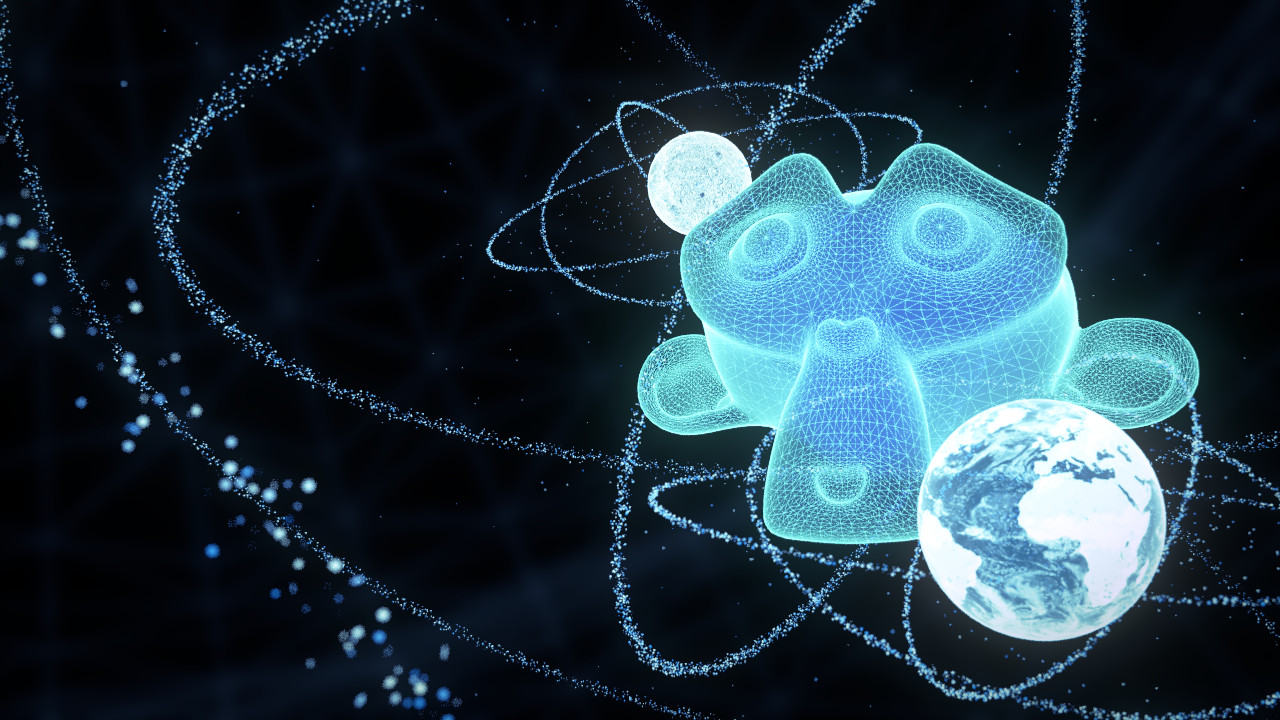
Jonathan Lampel shows you how to set up a Cycles shader that turns your Blender models into modern day holograms.
Finally, I managed to complete the second part of the ARewO tutorial. It can now distribute objects along a path and include armatures.
