Fashion pieces simulated using software like Clo 3D can be hard to integrate into immersive 3D web experiences like Hubs. Problems are the limited support for mesh-based animation data and the fact that it tends to produce extremely large files. Using Blender, we can tackle both problems.
This tutorial by Gottfried Hofmann shows you the extrude tools and widgets in Blender 2.8.
Have you ever run into the situation that you cannot scale anything anymore in Blender? You might have accidentially turned on "manipulate centers only". While this feature is a regular annoyance for beginners, it is actually very powerful. Frederik Steinmetz shows how to use it by example.
Learn how to create your own particle system from scratch in Blender 3.6 using the new simulation nodes. This three-part tutorial series aims to serve as an introduction to simulation nodes and make some of the underlying concepts clearer to beginners.
With the annotate tool in Blender 2.8 you can draw anywhere in 3D space or directly onto the "screen" of the 3D view.
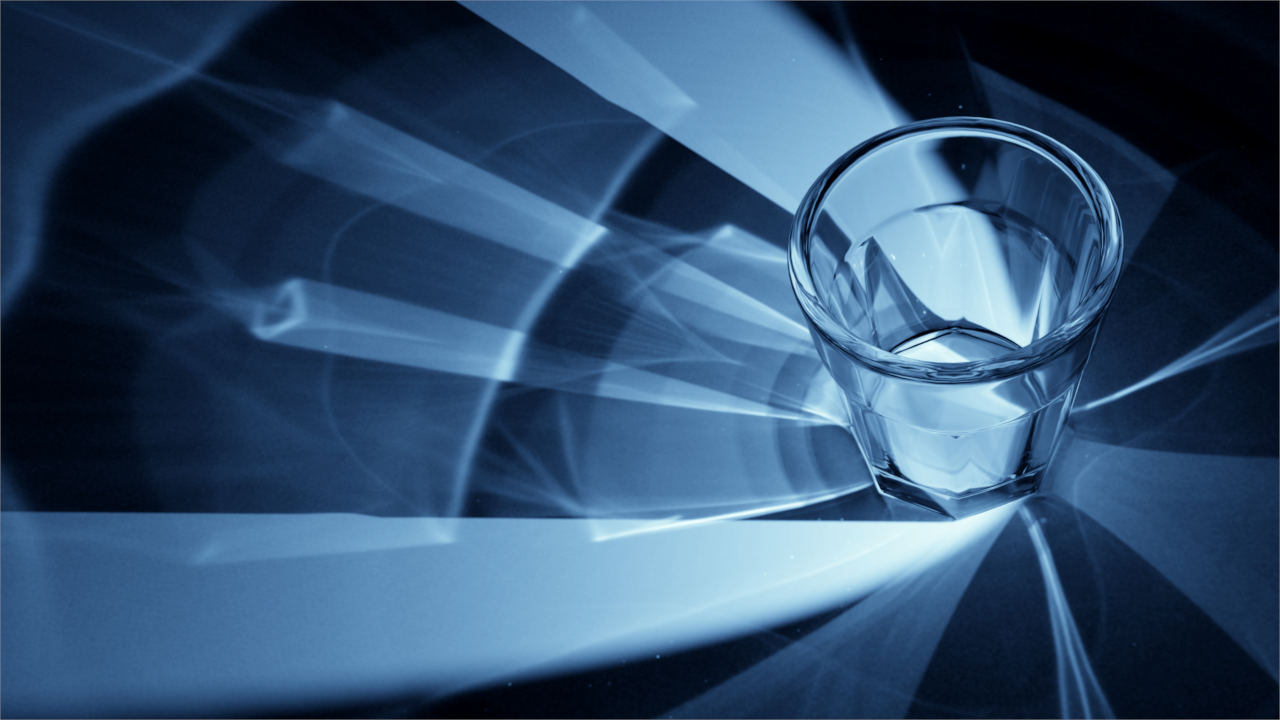
Cycles is a great production renderer, but it currently struggles with one thing: caustics! Thankfully there are other open source render engines available. One is of particular interest for this case: appleseed. This quick tutorial shows how to render caustics in Blender with Blenderseed, the appleseed plugin for Blender.
The solidify modifier in Blender allows you to add thickness to otherwise flat surfaces. Sounds simple enough? Well, there is a lot more to it down the rabbit hole.
Blender 2.8 comes with a new tool- the measure widget. It allows you to measure distances, angles and even the wall thickness of 3D objects.
The mask modifier has received an update in Blender 2.79. Frederik Steinmetz explains all settings in depth and shows example situations where the mask modifier might come in handy.
The array modifier in Blender 2.92 can be used to replicate objects with an offset. Frederik Steinmetz gives you a complete walkthrough.
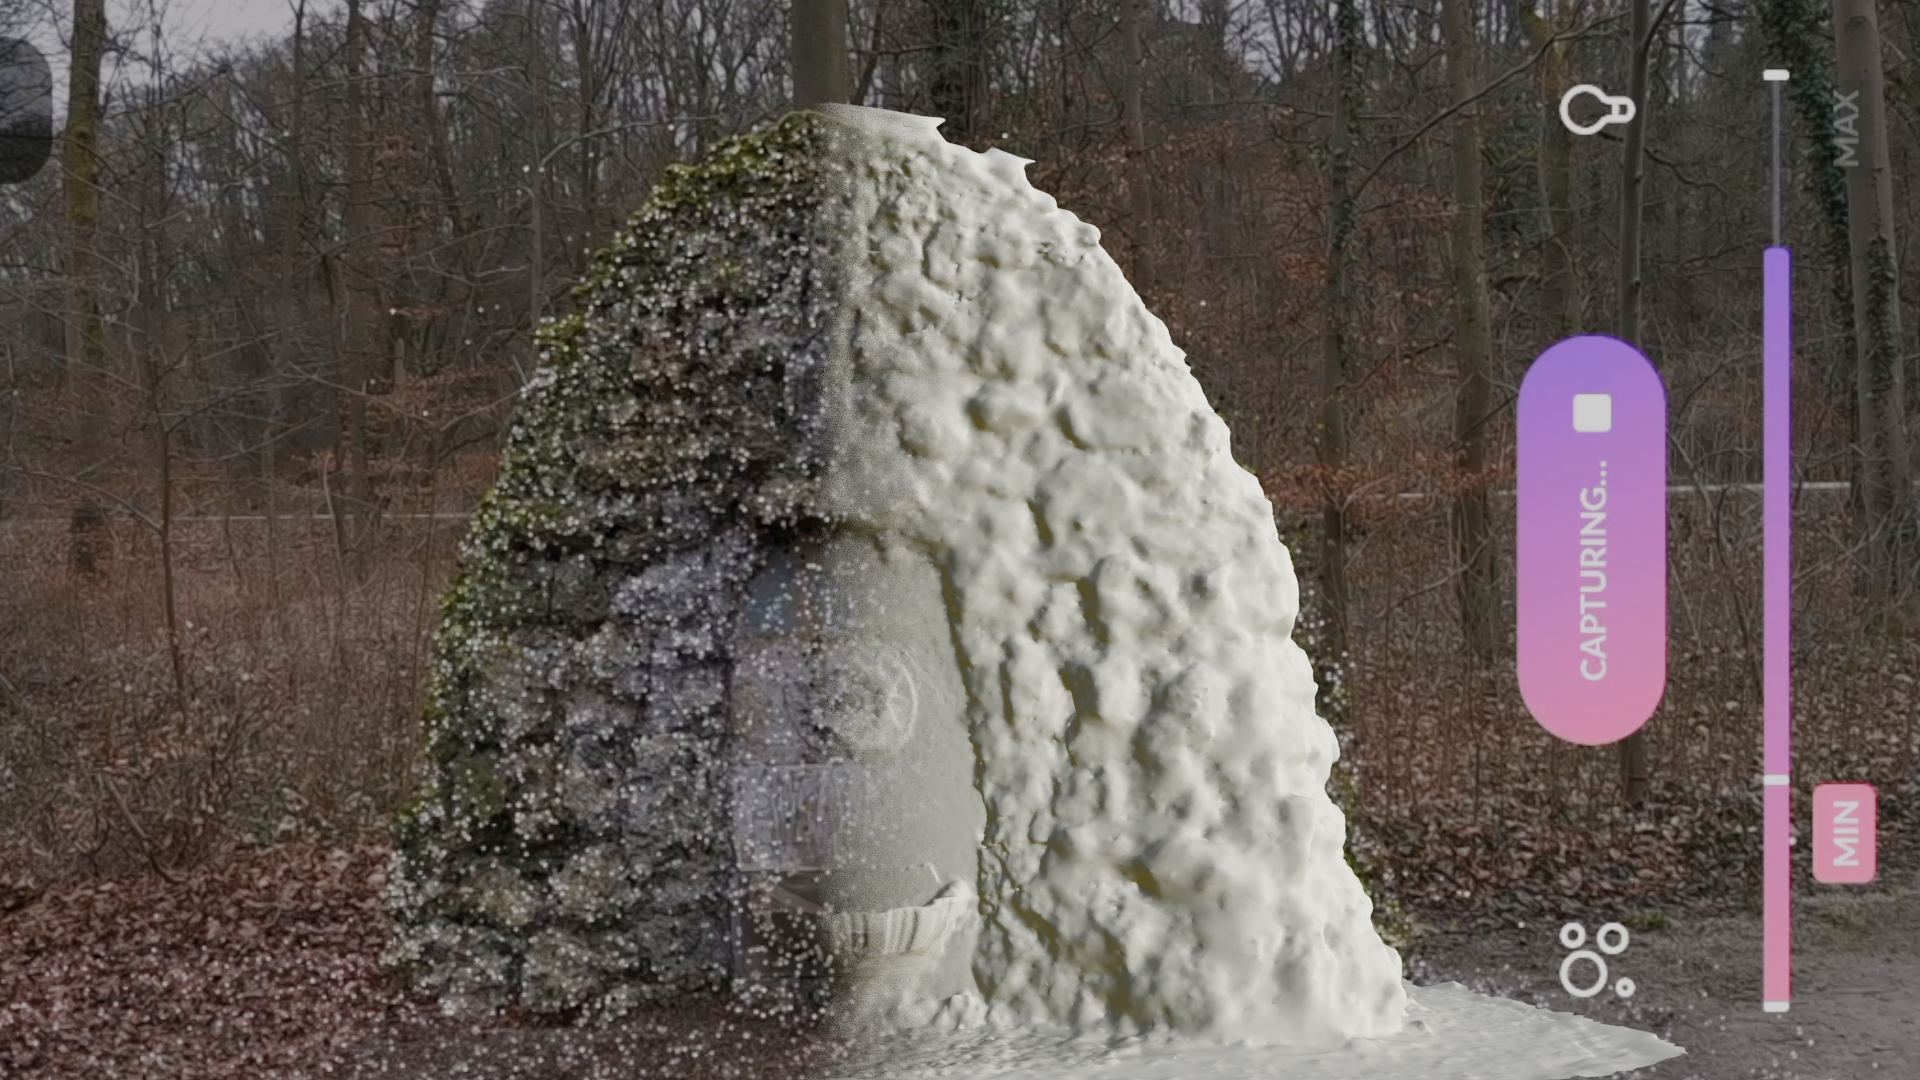
Display.Land is a 3D scanning or photogrammetry application for your smartphone that allows you to download the finished scans as 3D model files. This tutorial shows how to import the generated files into Blender and how to do some basic cleanup.
The Boolean Modifier has received an upgrade in Blender 2.78, watch this tutorial to find out all about the modifier and what the changes are.
Have you ever wondered why the boolean modifier does not respect materials of the boolean mesh? Find out all about it, including the difference between BMesh and Carve as well as how to preserve the materials and UVs.
With the build modifier in Blender 2.92 you can make an object dis- and reappear face-by-face. The effect can be controlled using Blender's face sorting methods.
The loop cut tool in Blender allows you to place cuts that follow the topology of our model and the offset edge loop cut tool even works in two directions at once.
Blender is a really versatile program. It can even be used as a replacement for image manipulation programs like Photoshop or Krita in some cases, with the added benefit that real and fake 3D can be combined.
In this tutorial Frederik Steinmetz shows how to use the mask modifier in Blender 2.92 and explains all its settings in detail.
Finally it is time to take the epitrochoid into the third dimension in the third installment of the math is fun with animation nodes series.
In the second part of the BlenderDiplom Halloween 2016 series Frederik Steinmetz shows how to use animation nodes to track the rotation of several objects towards another object at once and how to use the setup to easily control further attributes and effects.
In this tutorial for Blender 2.92 Frederik Steinmetz shows how to use the cast modifier and explains all its options in detail.
An Epitrochoid is another example of a figure that can be created in Blender using the Animation Nodes addon and a bit of math. Frederik Steinmetz shows how to save a lot of node-wrangling by placing the formulas right inside an expression node.
It's Halloween 2016 - scary eyes everywhere - looking at you! Frederik Steinmetz shows how to morph a sculpted mesh using shape keys and how to make objects look towards the camera.
In this tutorial for Blender 2.92 Frederik Steinmetz shows the basics of modifiers and the various ways to control them.
Animation Nodes in Blender 2.8 can make math less daunting than usual. In the first part of this series Frederik Steinmetz shows how to convert a mathematical formula into an animation nodes tree that procedurally creates the famous trefoil knot.
Kenneth F. Musgrave came up with an algorithm to create procedural patterns suitable for creating procedural terrain. His results actually exceed this purpose and can produce some very interesting patterns. His methods are implemented in Cycles but they are largely overlooked.
Gottfried Hofmann walks you through the knife and bisect tools and their various options in this tutorial for Blender 2.83 or later.
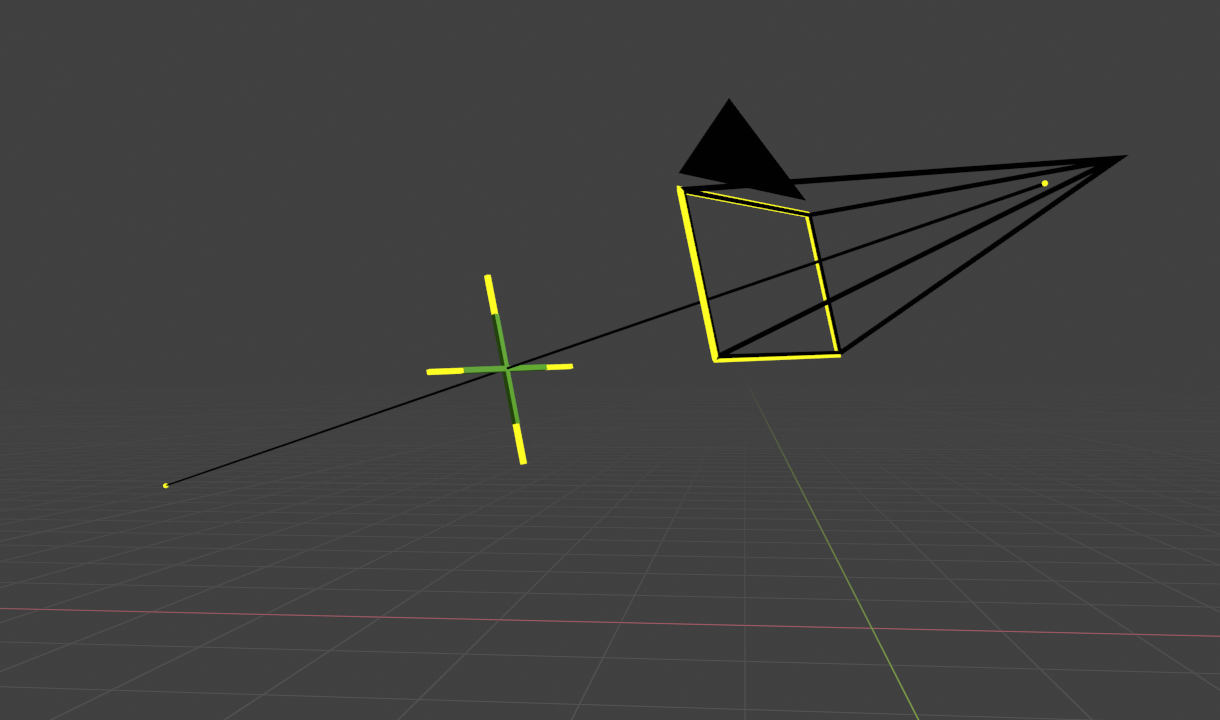
In Blender 2.8 the camera got viewport widgets as well. One to change the focal length which is always on and one to change the focal plane which needs to be activated first. Gottfried Hofmann gives a quick overview.
The Animation Nodes addon for Blender allows you to animate individual letters of a word. This tutorial shows you how by adding a little bit of random movement to each letter using the wiggle node.
The powerful addon Animation Nodes ist a must-have for every motion graphics artist using Blender. Learn how to install and run it in the all-new Blender 2.8x.
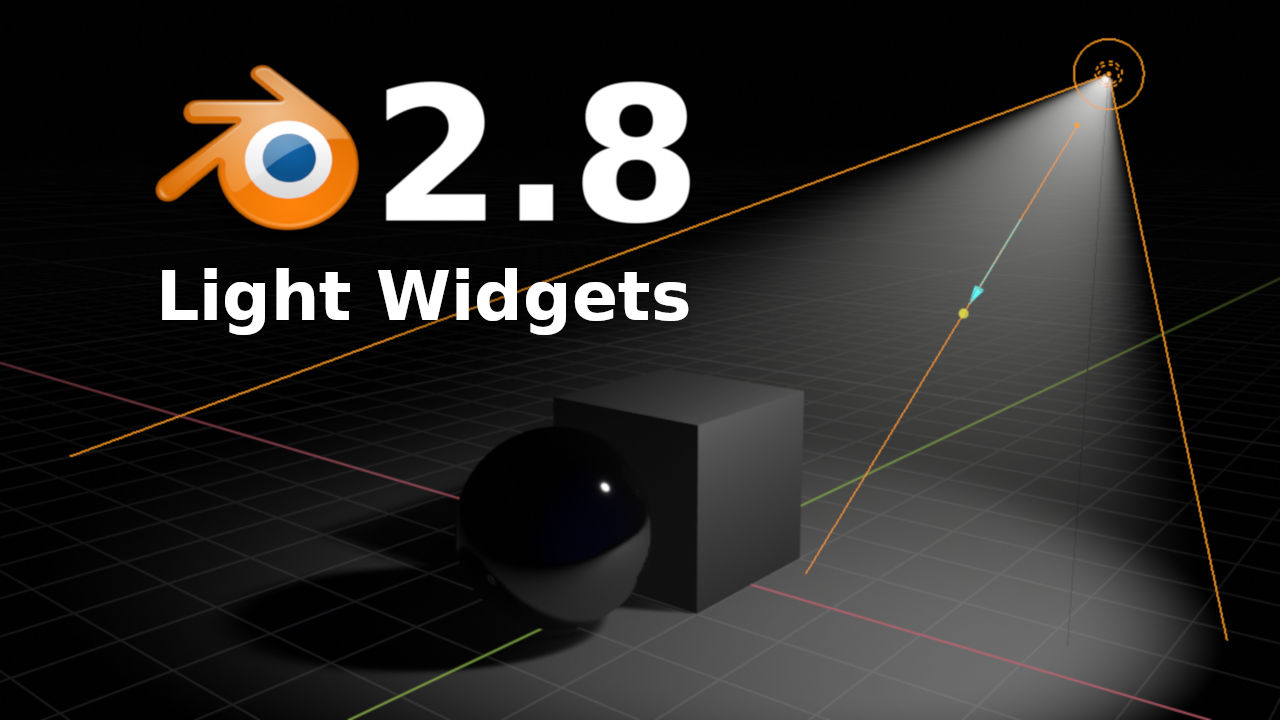
In Blender 2.8 light objects in the viewport have widgets that allow for a point-and-shoot lighting workflow, easy resizing and more. Gottfried Hofmann guides you through all of them.
The Animation Nodes addon for Blender comes with several nodes to accomplish a wiggle effect. This tutorial explains in-depth all the options and internals.
Learn more aboute the inset tool and its various options in Blender 2.8 in this new overview video.
Subsurface scattering (SSS) is an essential tool to make organic materials look real. They are probably most commonly used in human skin, but they pretty much apply for any living object, as well as some inanimate ones. Our skin consists of several layers, which all have different colors. Contrary to plastic they are also very heterogenous, meaning they consist of cells, blood, collagen and more. As a result light that penetrates the surface gets scattered.
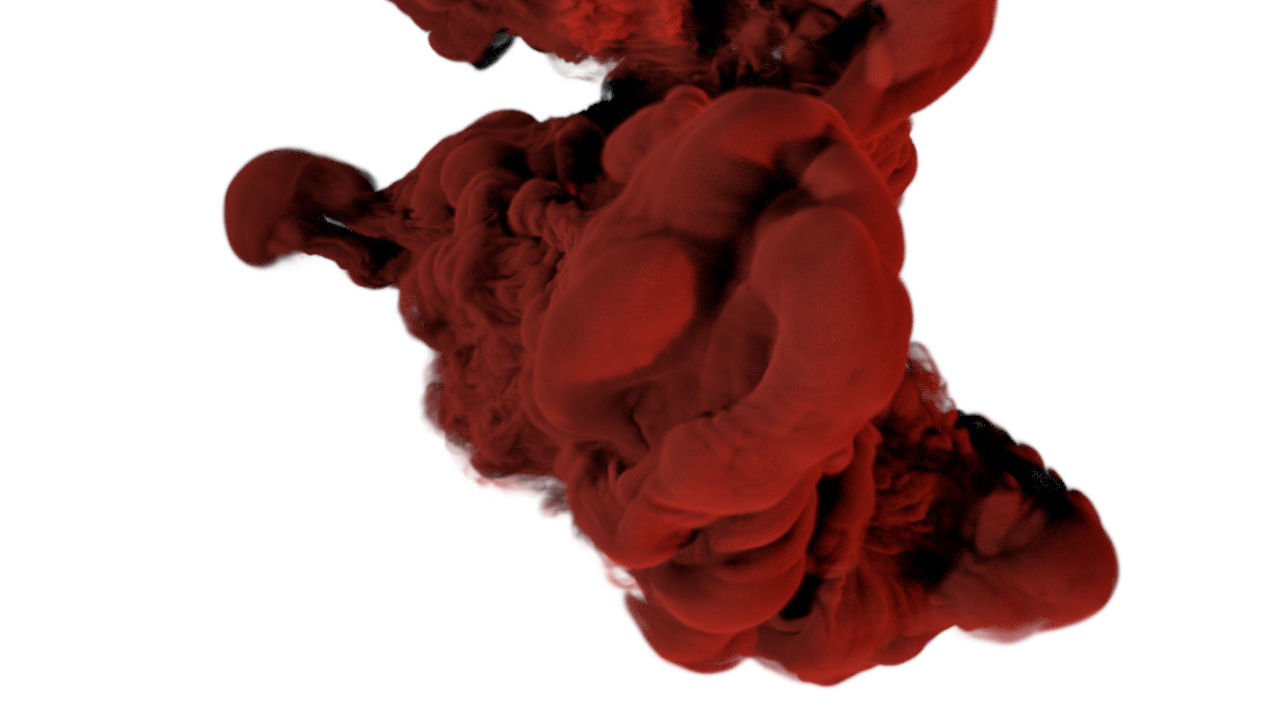
Ink drops in water are heavily used elements in graphic and motion design. You can create them right inside Blender. And thanks to the Cycles render engine you can create the traditional and more modern variants with ease.
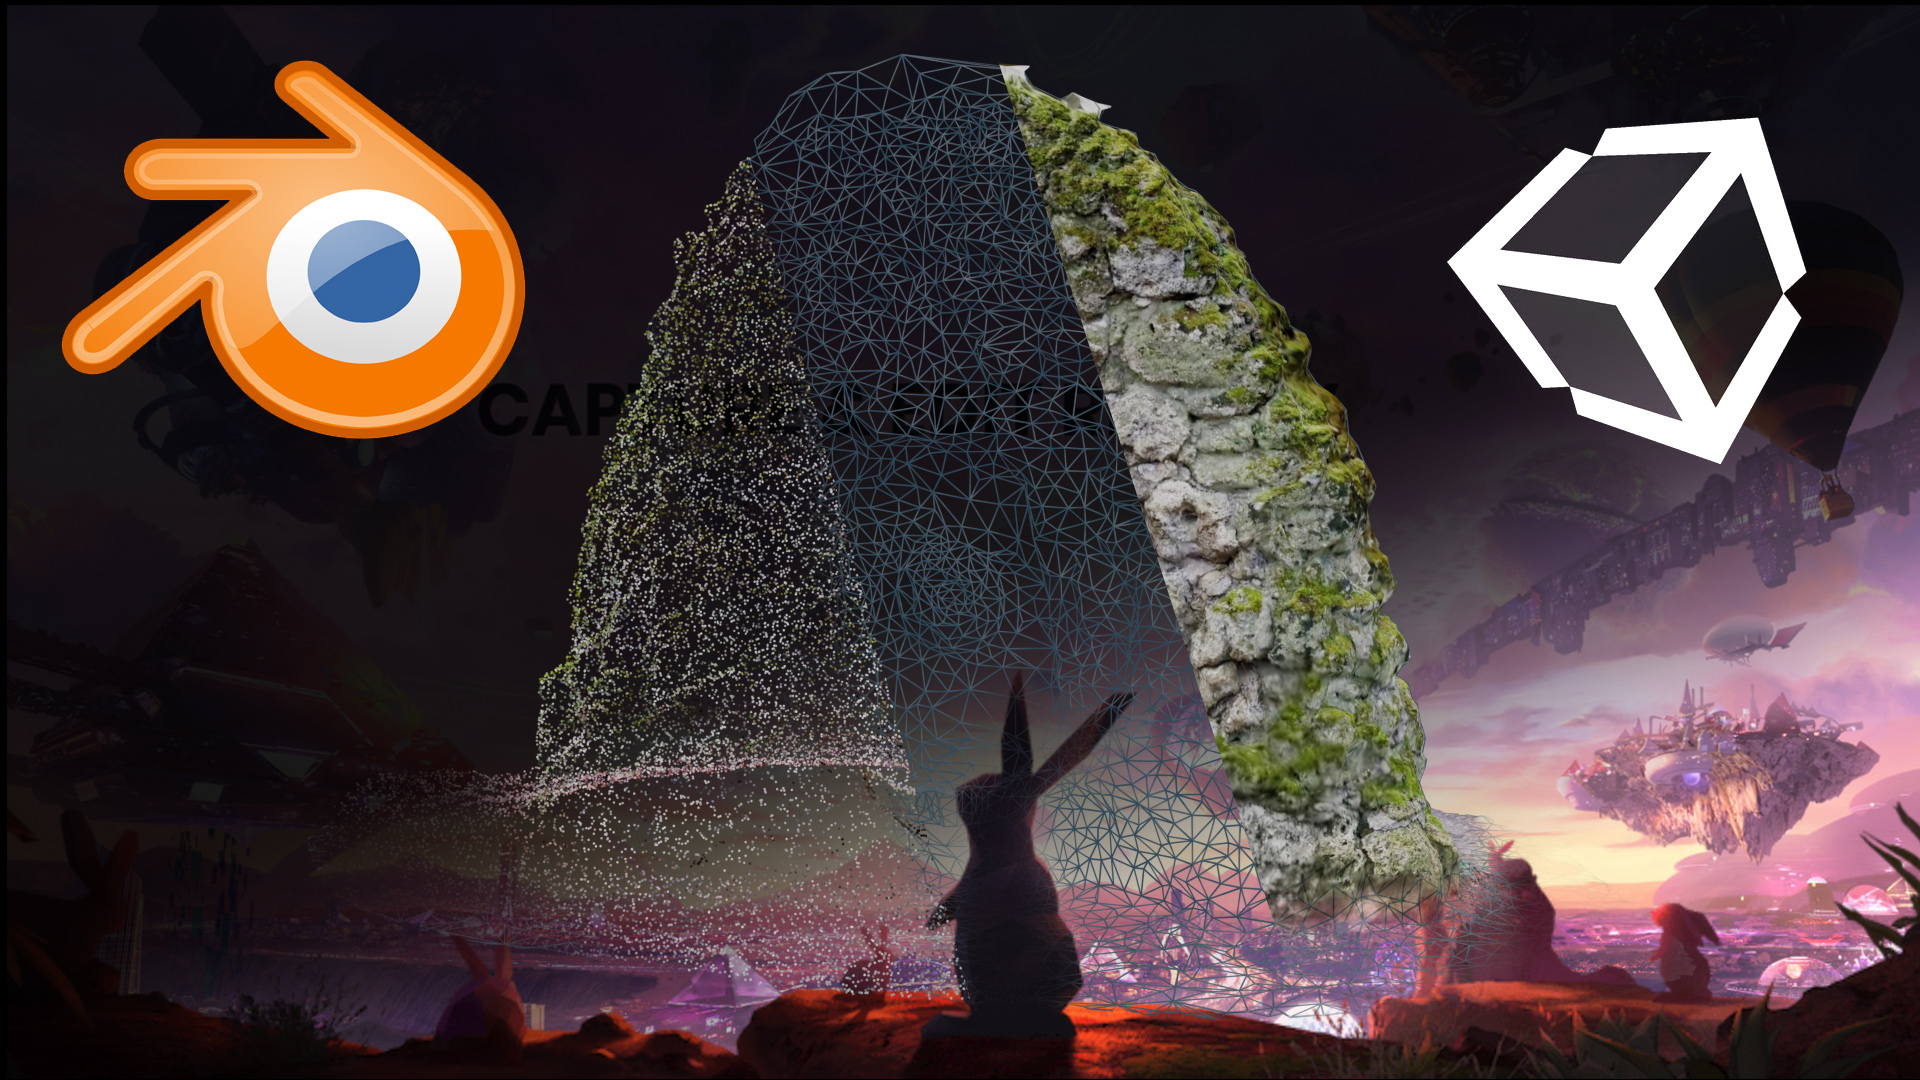
3D scanning usually results in a very dense mesh. In this tutorial Frederik Steinmetz shows how to use Blender to boil a mesh down to a level of geometry that is suitable for realtime usage in Unity.
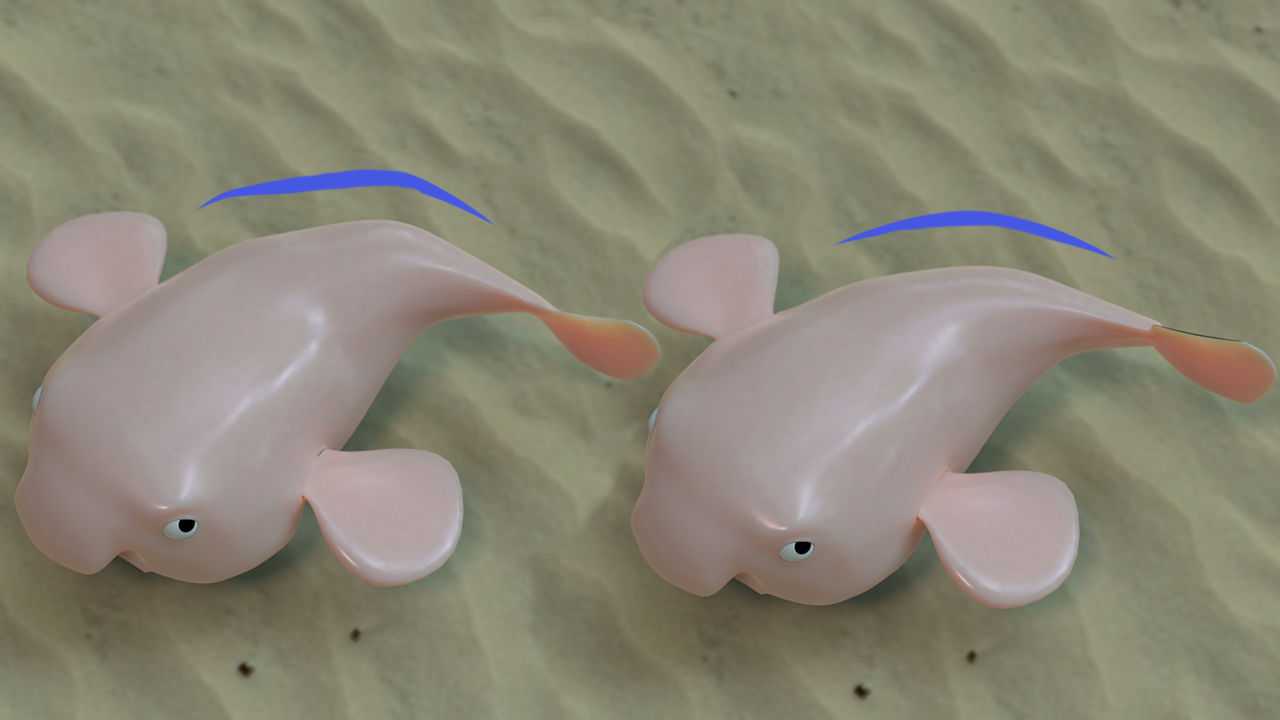
When your mesh gets heavily distorted by deform modifiers, like the armature modifier, the corrective smooth modifier can help you sand off those edges. What we didn't mention in the video is: in addition to combination with other modifiersyou can also relax and blend shape keys with the corrective smooth, using the bind choords option.
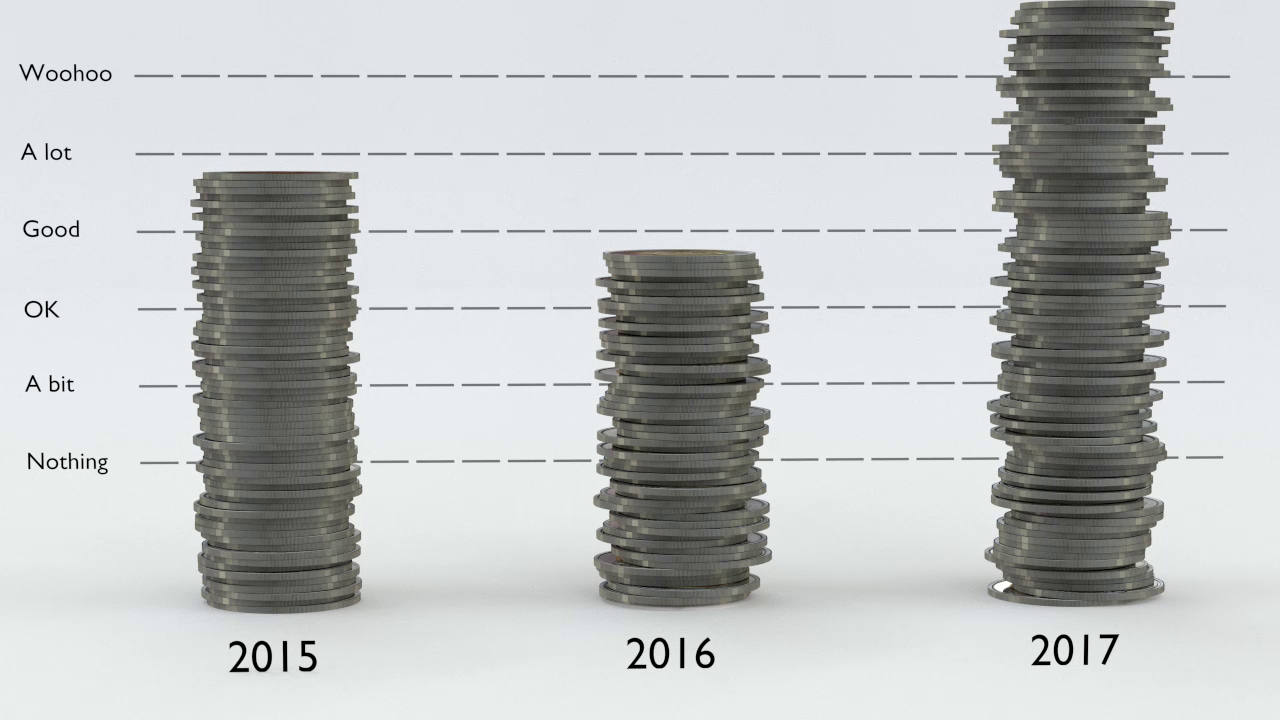
For modern presentation it is often helpful to underline important points with an animation. In this tutorial you will learn how to stack objects and animate the result. It is like an array modifier with random offset.
