This is once again an effect from Nion's great effect reel. You might want to step by his homepage Project Nion.
The basic setup of the scene is very simple. Just Suzanne (Add|Mesh|Monkey) rotated by 90° on the X-axis so its local Z-axis is facing upwards. The camera is only moved on the Y-axis and rotated the same way so it's directly facing the monkey. Suzanne also got a subsurf-modifier at level 1 applied to get her shape a bit rounded. Grab the starter Blendfile with this scene here!
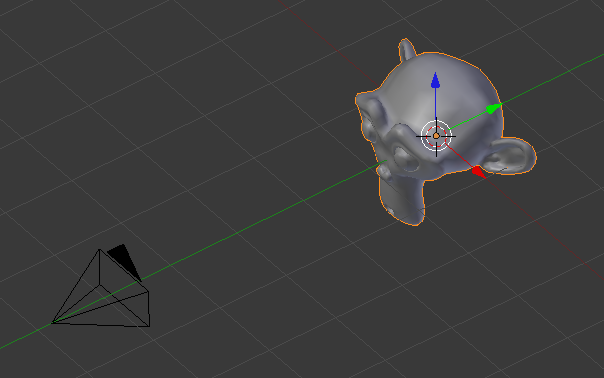
Let's set up the movement of the camera first, because later on with all the particles around it will be a lot more difficult. We're not gonna keyframe the movement of the camera directly but control it via an empty. This way nice circular movements of the camera can be created with ease. Hit Z to go into wireframe mode and add an empty. Rename it to "Controller.Camera". Now parent the camera to the empty. To do so, first select the camera, then the empty and hit Ctrl+P.
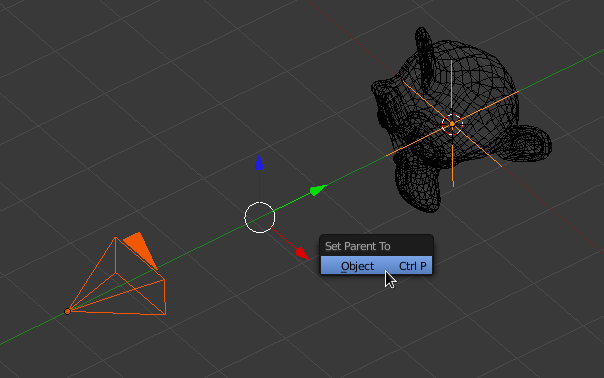
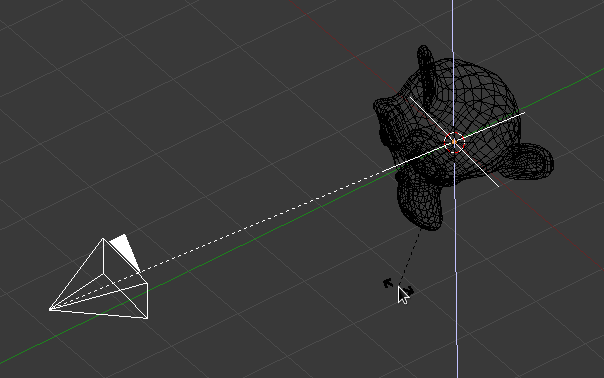
Now when you rotate the empty, the camera nicely follows suit. We'll rotate it around the Z-axis only. Select the empty and go to frame 1. Insert a keyframe for rotation. Then go to frame 250 and hit R|Z|180. Also insert a keyframe there. When scrubbing through the timeline the camera will nicely rotate around the monkey head now.
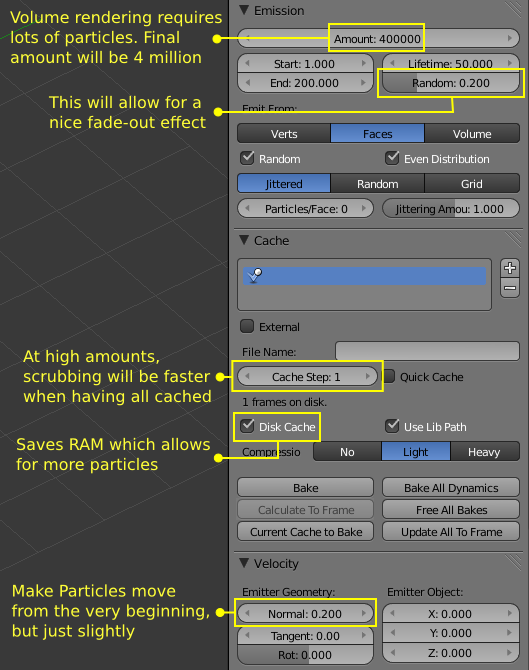
Next let's add a particle system to Suzanne. The settings can be found below, with annotations to the most important and least obvious ones:
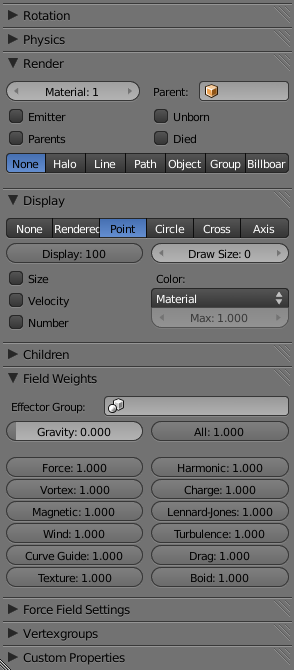
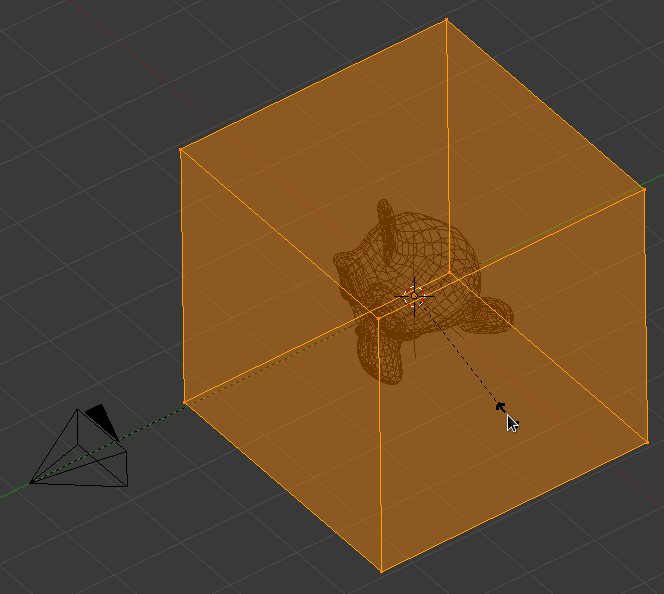
If we render now, we obviously won't see anything. We need something to visualize the particles. We'll use a point density texture with volume rendering for that. Just as with the smoke simulation, a kind of container is needed that will get a 3D texture for the volume. So go add a cube. Beware that you need to scale it in Edit Mode when you want to add a Point Density Texture (as opposed to smoke simulations where you use voxel data textures and need to scale the domain in object mode). So hit Tab to go into Edit mode and then S|2 to double the edge-length of the cube. Now there should be enough room for the particles flying around.
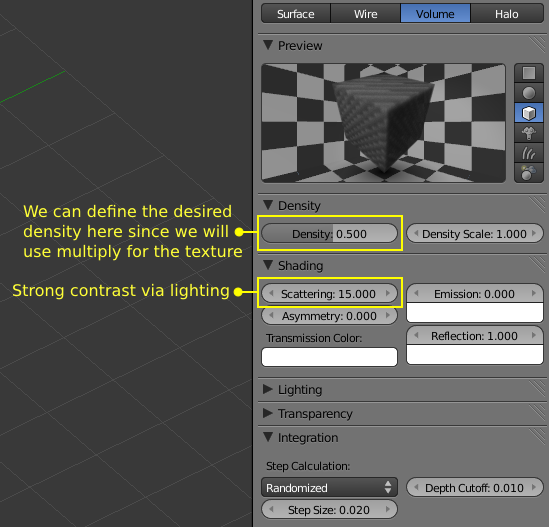
Next let's set up the volume material of the cube. Below you can find the settings.
Next let's set up a 3D texture that uses the positions of the particles to define the density of the volume material. To do so, add a new texture and select Point Density as the type. Below you can find the required settings.
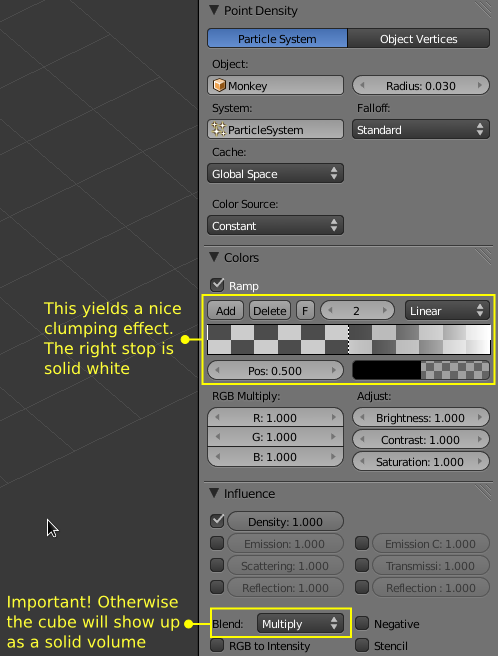
If you render now, you will see a volumetric Suzanne, but not the cool looking cords we're looking for.
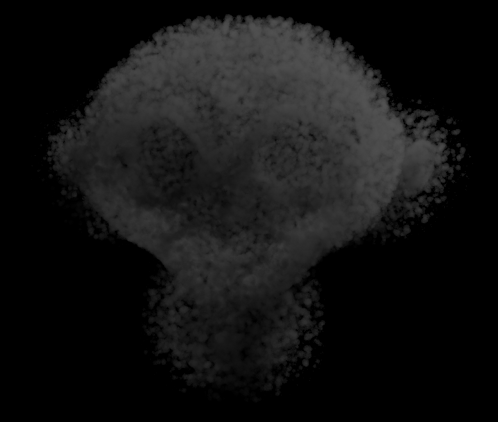
To achieve those, we need to add a Turbulence Force Field. Once again you can find annotated settings for it below:
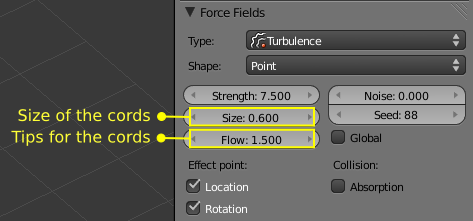
Now we got some nice cords, but when you play the animation you will notice that they are not yet moving.
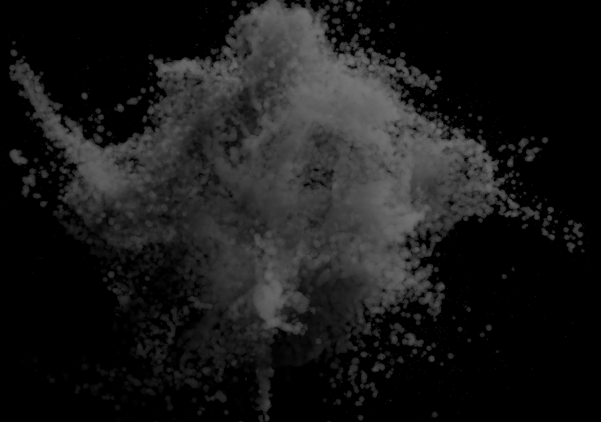
The movement of the cords is an integral part of the look. To get it, you will need to animate the position of the Turbulence Force Field in a way that it moves acros on the Y-axis. Add a keyframe at frame 1. Go to frame 250, move the Turbulence Field 10 units acros the Y-axis (G|Y|10) and insert another keyframe. After baking you will not just notice that the movement of the cords is now dynamic. The tips also have got a thread-like style now!
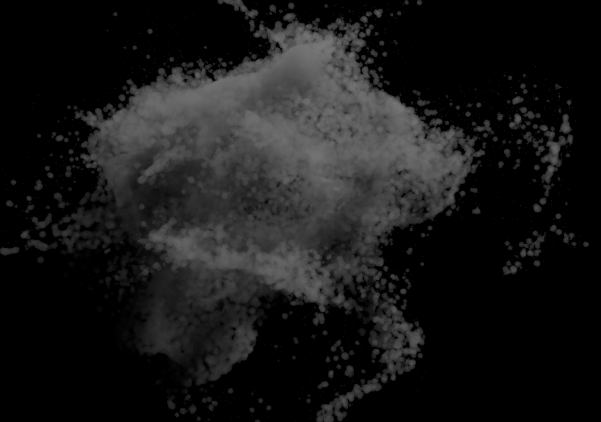
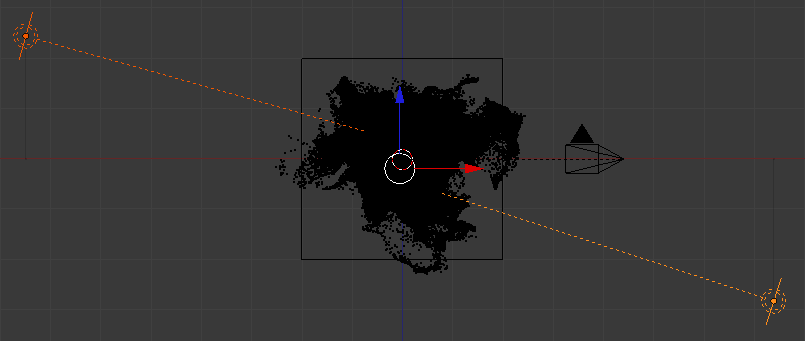
What's left to do now is setting up some dramatic lighting. Since that is dependent on the density of volume, let's first do the final bake. Set the number of particles to 4.000.000, hit Bake and get yourself a drink while Blender is working. When it's done, it's time to set up the lighting. I used two area lamps, one with a slight orangeish color (FFFCF8) and one with a slight blueish (EFF8FF). Both have Ray Shadow enabled while the distance on both is in a way that it ends just inside of the particle cloud:
With everything set up now, you can now finally render the animation:
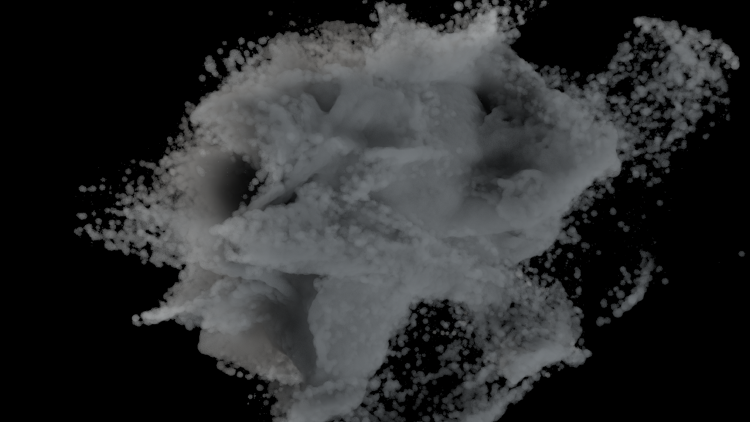
Download the finished Blendfile plus the demo video here!
I'm very interested in what you do with this effect. So feel free to post your work in the comments :)
