This tutorial works on the results from the Wicked Drum of Smoke tutorial, so you can grab the starting Blendfile from there. Basically the animation of the Temperature Difference gets removed and instead the force field is animated to rotate with another rotating force field added.
So start by deleting the animation keyframes of the Temperature Difference of the inflow object and set it to 0. I also changed back the Temperature Difference of the Domain to 0.1 but that should not be neccesary.
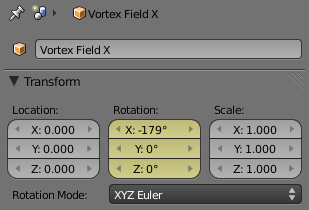
Now let's animate the Vortex Force Field. Start on frame 1 and insert a keyframe for the rotation by hitting I and selecting Rotation. Now hit Uparrow twice to go to frame 21. Set the rotation on the X-axis to 179° and insert a keyframe again. Be sure to check the Rotation Mode to be set to XYZ Euler. Hit Uparrow twice again so you end up on frame 41.

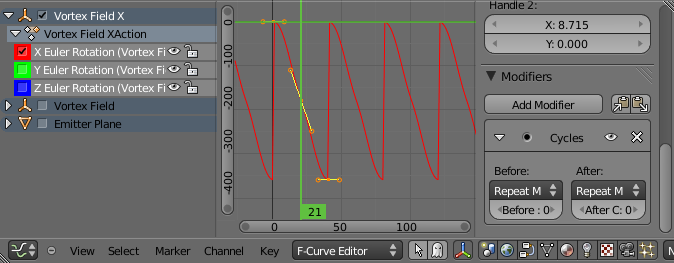
Insert a further rotation keyframe for the X-Axis, this time 359°. In the F-Curves editor you now can once again add a Cycles modifier to the curve to make the Vortex Force Field rotate to infinity. Don't worry about the ease-in and ease-out of the curve, this will only help adding chaos.

Now add a second Vortex Force Field by hitting Shift+A and set the strength to 5.0 like the first one. Repeat the process of animating the rotation, but this time on both Y- and Z-axis. Now you should be done, very easy setup, right? Baking all dynamics will result in some hefty smoke mayhem. But why do you get such crazy results? Well, the two rotating Vortex Fields form a so-called chaotic system which leaves the poor smoke simulation totally confused. Good for you, because you can whatch some ever-changing smoke-awesomeness!
Download the finished Blendfile!
If you liked the tutorial, why not drop a comment below? And if you like the effect, drop a comment over at Nion's page!


