This time I changed Nion's effect quite a bit to fit it into the ongoing series covering the turbulence force field and particles in Blender. In the first part you learned how to use a static turbulence force field to dissolve objects in Blender. In the second installment you learned how to use a moving turbulence field to smush and smudge Suzanne in 3D. This time the force field is going to rotate.
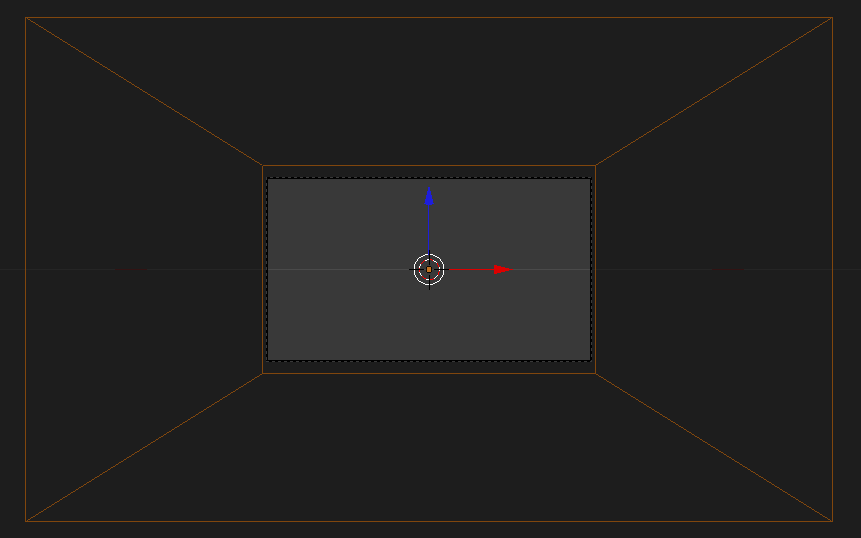
To render particles as volumes, an object with point density texture is required. To get a correct mapping of the texture, scaling in Edit Mode(!) is required. Let's use the default cube for this scene and scale it in Edit Mode by 6 on the X-axis (S|X|6) and 3.75 on both Y- and Z-axis (Shift+X|3.75). Put the camera at -9 on the Y-axis facing the cuboid directly and delete the point light that's currently in the scene. The following figure shows how the scene should look like when looking through the camera now. The back of the cuboid should just be a little bigger than the dimensions of the view:
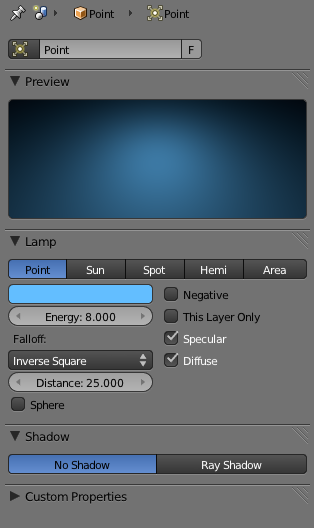
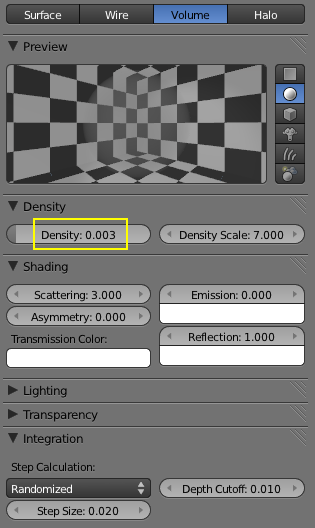
From this point on, things will become fairly easy from the modeling point of view since we just need to add objects to the center. Start by adding a point lamp. That will be the source of all the illumination in the scene. The color is "63BEFF" in Hex. Also give the cuboid a volume material. Settings for both point lamp and volume material are provided below. The volume material has a very weak rest density of 0.003. That will leave a nice blue background and ray-like shadows later on.
Rendering now will result in just a light-blue screen. We obviously need something to display. That will be particles emitted from the vertices of a circle. So add a circle and set the number of vertices to 512. Before we add a particle system lets first animate the ring to rotate exactly one time around the X-axis. Set a keyframe for rotation at frame 1 and another one at frame 250 with rotation of 360° around the X-axis. Also set the end frame in the timeline to 305. Now the ring should have a nicely animated rotation. Next add a particle system to it. The settings can be found in the following two figures. The amount of 4.000.000 may be a little much while setting up the other things so keep it much lower until you do the final rendering.
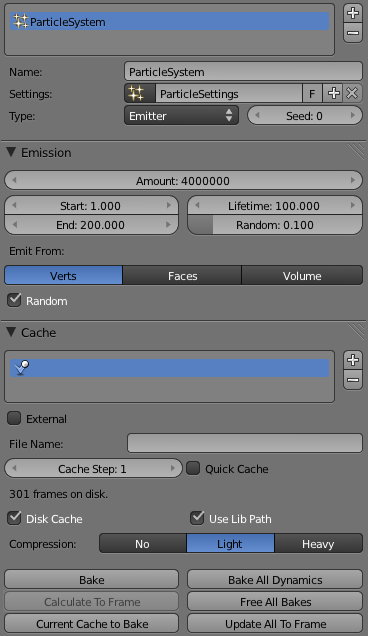
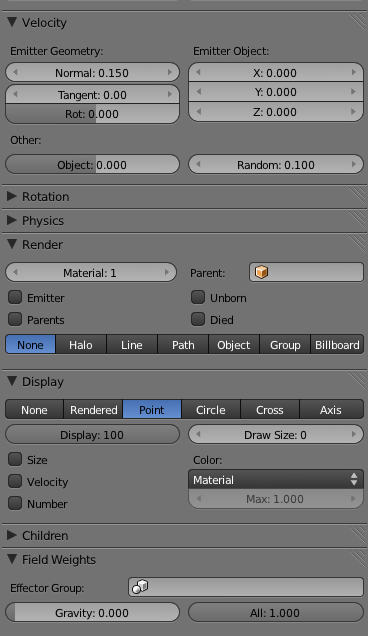
Even after baking the particles you won't see anything when rendering. We first need to add a point density texture to the cuboid. The settings are shown in the following two figures. If you are unsure why certain settings are chosen - they are explained in the tutorial Suzanne Smushed and Smudged.
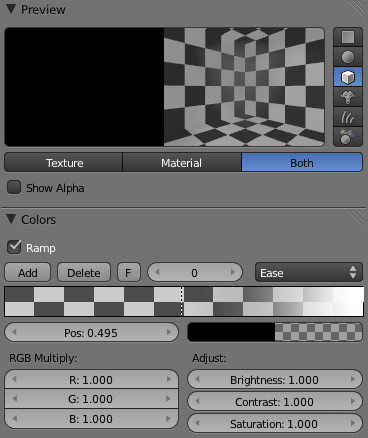
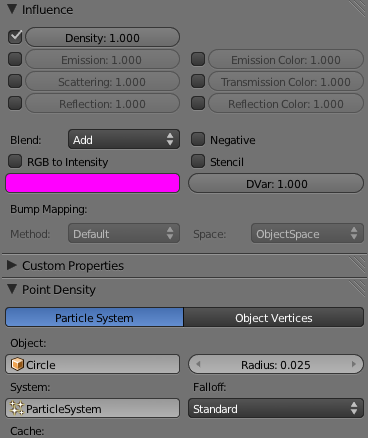
Now let's start with the fun part - adding force fields. The very little initial velocity of the particles is just so that they move from the very frame they are spawned. We also want a force that accelerates them outwards but gets weaker the farther the particles are away. So let's add a default force field with the following settings:
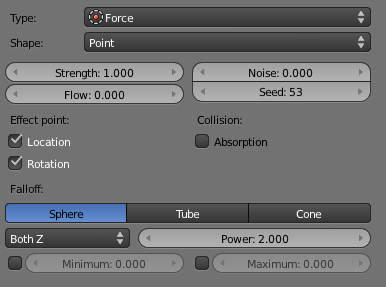
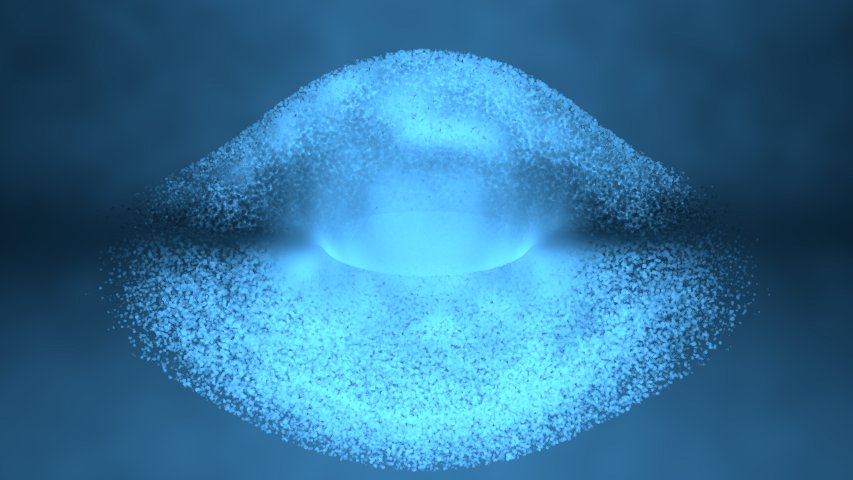
If you render now, you will get a cool effect already, but it's not yet the desired organic look:
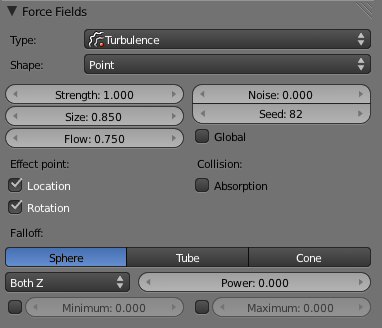
What's needed is a Turbulence Force Field. So go ahead and add one. The settings are shown below. If you did the previous tutorials, you already know the effect of the field when it's static or moving. This time we will rotate it. The rotation should happen antithetic to the rotation of the ring. Since the ring is rotating around the X-axis let's animate the Turbulence Force Field around the Z-axis. Let it rotate 360° around the Z-axis from frame 1 to 250 (just like the ring on the X-axis).
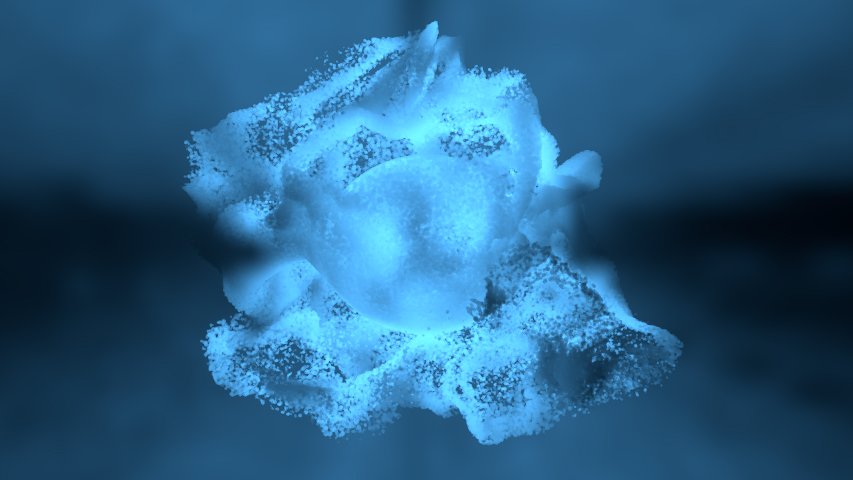
If you render now, the effect is already heading towards the final solution. But the particles are just too spread-out. What's needed is a force that makes them slower over time so they start to clump a little. That will yield some really cool looking cords.
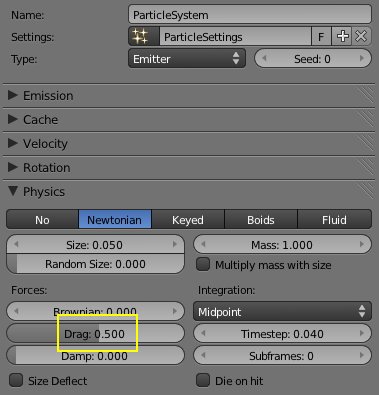
The solution is to add some drag to the movement of the particles. You can set the desired amount in the particle physics tab under "Newtonian":
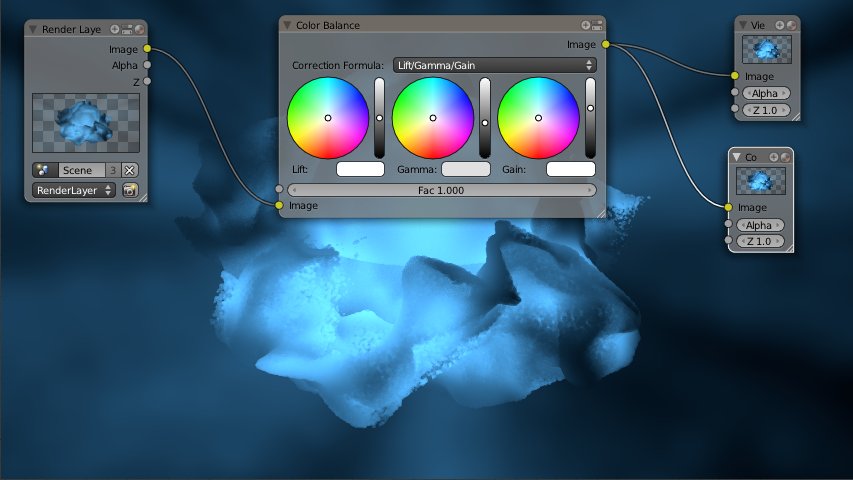
Now the animation is finished. Set the particle amount to 4 million (or more if your computer can handle it) and bake. A little tweaking of the look by utilizing the compositor will yield an even cooler result:
